I spent around 3 hours of my tutorial with learning basic constraints. I have used quite a few of them in the past and therefore I only listened to it as a reminder. I also feel like I learn it better when I actually see them used in a real example.
Constraints such as: (sourse 250 page documentation of the course)
The clamp to constraints forces a bone location to stick to a selected curve.
The damped track axis makes the owner targeting (aiming) at a target.
The Locked track allows the owner to aim at a target but limits its rotation to only one axis.
The stretch to constraint allows the owner to aim at a target, and alsochanges its length and width based on the target distance.
The track to constraint is great for cameras.
The Copy location constraint forces its owner to have the same location as its target.
The Copy rotation constraint, as all the other transform constraints, uses world space to world space by default. The owner gets the same orientation as the target.
Then it was time for my first rig.
I began where everyone begins. With a basic ball. Everything was still quite simple, however I don’t think I ever did a good working squash and stretch. The main focus of this lecture was to get into good habits. As an example, renaming your bones as soon as you create them by pressing F2.
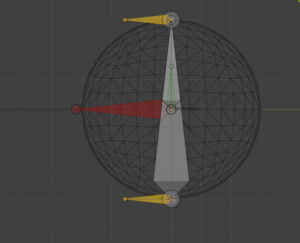
Generarally the ball needed a total of 5 bones. The rig consists of a root bone, a deformer bone, a rotation bone, a mechanical bone and two squash or stretch bones. The root bone is above all the other bones in the hierarchy and every other bone follows the root. The deformation bone is the only bone directly influencing the ball model However, the deformation is depending on the mechanical bone, which stretches from (a constraint) the base to the top squash.
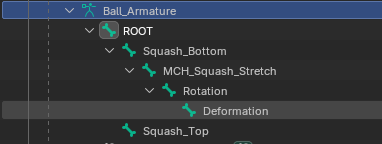
I had a few brief moments of confusion due to the fact that I work in Blender 5.0 and the tutorials are in a 3 or 4 version of it. The general instructions were clear and easy to follow with a few pauses in between.
The finished rig is clear structured and read to be animated with.
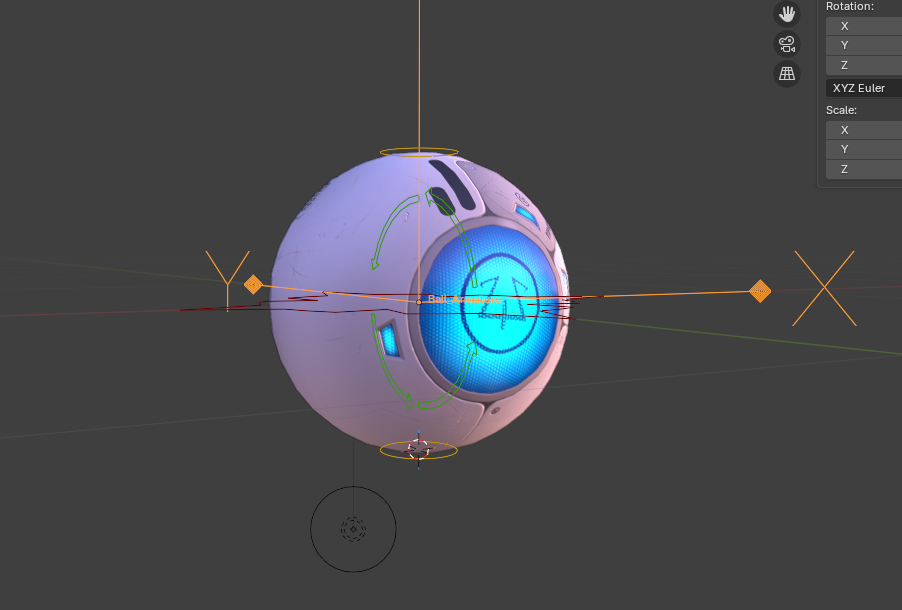
Here is the rig in movement.
The next project in the tutorial is a spider ball. It is essentially a little robot which can hide its head and legs to look like a ball. It jumps from 5 lessons for the ball rig to 28 lessons for the spider ball rig. I assume I will have more to write about next time. Stay tuned!