I’ll be upfront: I was properly scared going into this one. Animation felt like the part where everything could fall apart. You can have a great model, clean materials, a solid rig, and then the moment you try to make it actually move, it looks terrible. That was my main fear going in.
It didn’t fall apart. In fact I’m genuinely surprised by how well it turned out for a first real character animation in Blender.
How the Character Animation Works
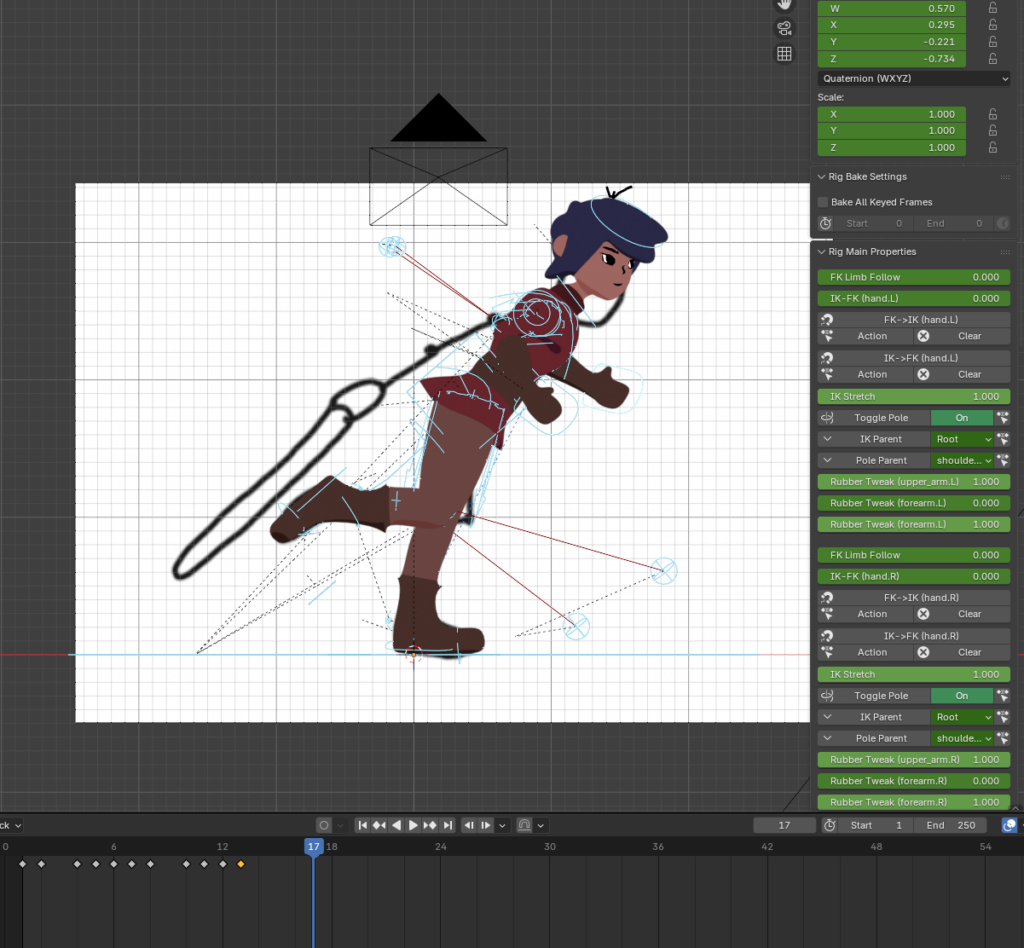
The approach Patata School uses is straightforward in principle: identify the key poses of the movement cycle, set those as keyframes, and then go back and adjust the frames in between. For a running animation specifically, the most important thing to get right is that the feet actually contact the ground at the correct moments. That’s what makes or breaks whether a run cycle looks believable. The parts where the feet are in the air matter less and give you more room to be loose. The ground contact frames are where you need to be precise, and most of the finessing happens around those.
One setting that made a noticeable difference: enabling the Pole Angle for the knee and elbow controls in the rig. This snaps the joints to point in a consistent, correct direction rather than flipping unpredictably as you move the limbs around. It’s the kind of thing that seems like a minor detail until you turn it off and suddenly your character’s knees are pointing sideways.
I’ll be honest that I didn’t go all-out on the animation quality here. This is a practice project and the goal was always to get something working rather than something perfect. That said, even with a relatively quick pass at it, it looks quite good. Better than I expected given the time I put in. I can see clearly where it could be improved, but for a first attempt I’m not unhappy with it at all.
Animating the Stage
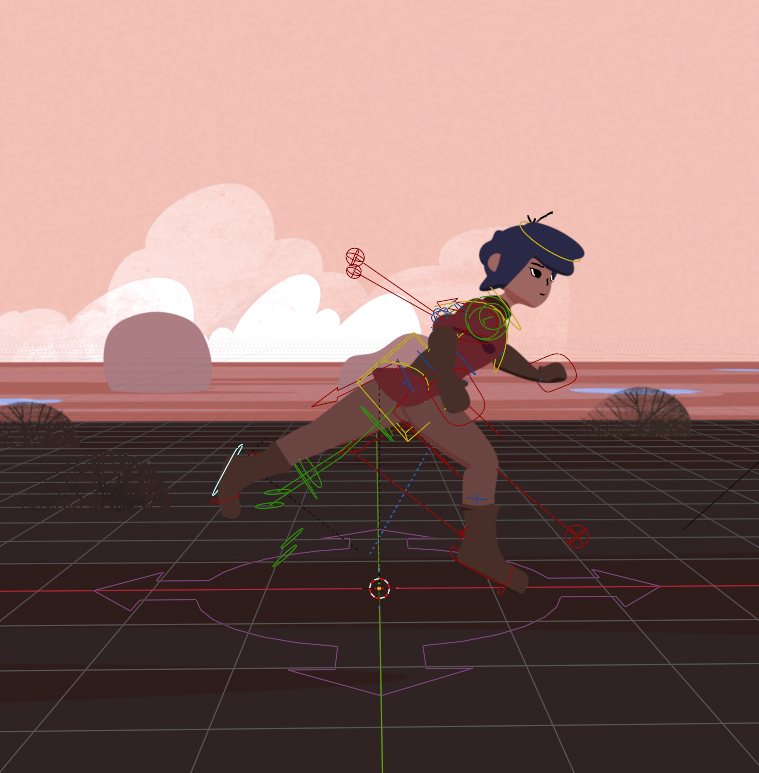
Getting the character moving was only half of it. The background also needed to move to sell the illusion that the character is actually running through a space rather than jogging on the spot in front of a static painting.
For the plants I started by copy-pasting the bushes across the stage to get a few of them distributed across the scene. Then I created an Empty using the Arrows display type, which acts as a parent controller object. By selecting all the plants and then shift-selecting the Empty, I could parent everything to it, meaning whenever the Empty moves, all the plants move with it as a group. I then animated the Empty moving across 100 frames and set the interpolation to Linear so the movement is perfectly consistent, no easing in or out, just a steady scroll. The result is that the background appears to fly past as the character runs.
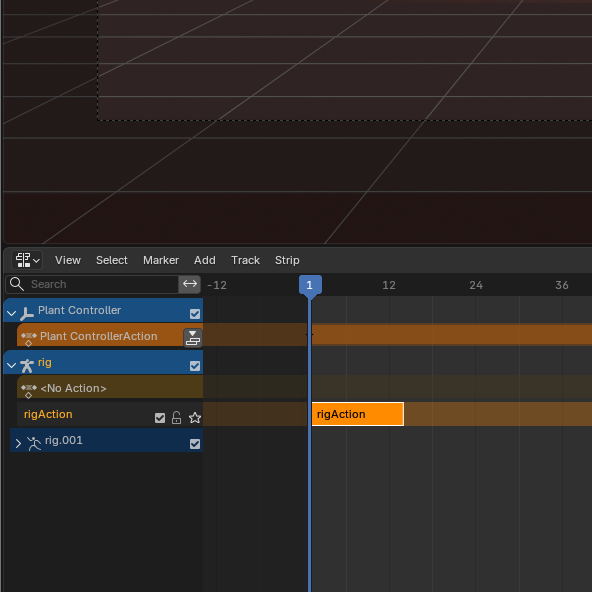
To avoid having to extend the animation manually to fill the full length of the shot, I used the Nonlinear Animation editor. You push the animation down into a block in the NLA editor, which turns it into a reusable strip, and then you can set how many times it repeats. I cranked the repeat count up until the strip filled the entire 100 frames of the shot. Clean and efficient.
I repeated the same process for the other background elements. The floor texture was the most interesting part of this, because you can also animate properties that live inside geometry nodes. So instead of moving an object, you’re keyframing a value in the node graph, which then drives how the texture scrolls across the surface. One thing to keep in mind: to actually see the keyframes you’ve set for a node property, you need to have that specific node selected in the Shader Editor. If you click away, the keyframes disappear from the timeline, which is confusing the first time it happens.
Where Things Stand
That’s essentially the animation done. And with it, I’ve made a decision about scope: facial animation is a deep enough topic that covering it properly would take several more sessions on its own, and these blog posts were never meant to go on forever. So I’m leaving it out for now and treating it as a separate thing to come back to.
The last step is compositing and rendering the final animation, which is what the next post will cover.
Nearly there.
See ya!
