The UI for the rig was as in a previous tutorial. We just reused the file and adjusted accordingly. So far we have all of our custom properties stored in a cog above the head. But it would be nice for the animator to not always having to click on it while animating. The tutorial provided another python script for that. We only had to change some names and copy it into our rig UI. With that you can always do the IK/FK switch.
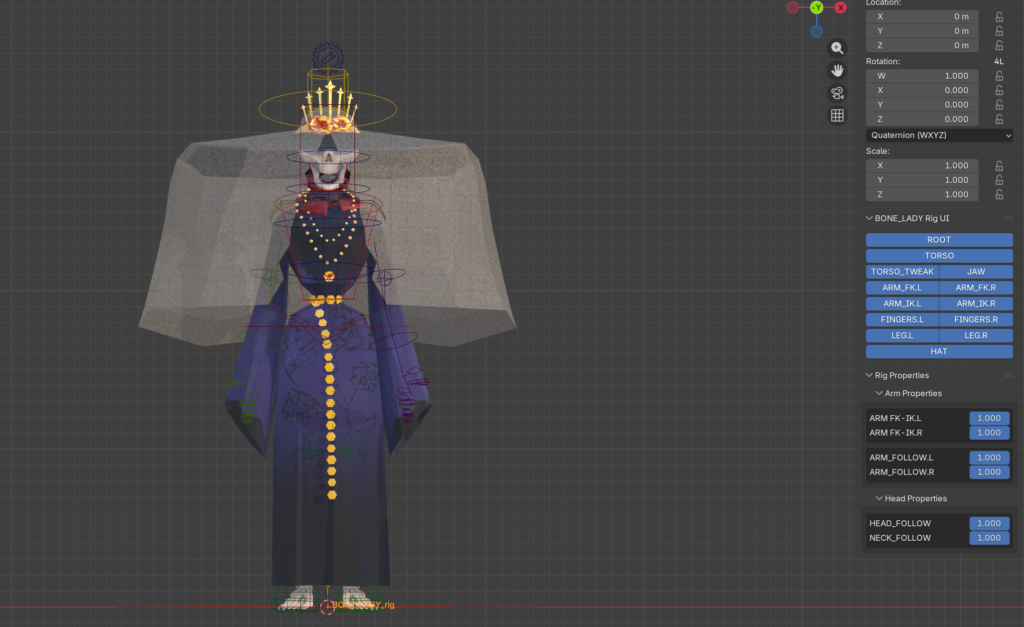
Just like that the rig is finished. It sounds like it did not take me that long. Still, the whole process from the first lesson in the 5th course to the final rig I probably spent 15 hours working through the course, changing the character in the middle, starting new and finding my mistakes. The process takes time and it is nice seeing things begin to move, but it is boring to write about it. So here is the finished rig. Yes, I talk a bit about it. (You can watch it muted, I don’t say too many interesting things)

Suppe 🙂