Recording for Social Media

One part of my process this semester is selecting relevant topics for the videos I intend to shoot, while the other part is defining editing styles and effects I would like to use / base my videos on.

For this purpose, I took a deep-dive on social media and watched a LOT of videos, successfully training my algorithm to show me more and more creatively edited videos. šŸ˜‰ Furthermore, I tried to find accounts that focus on science topics to gain inspiration on how to break down knowledge for short form video content.

The biggest challenge will likely be combining these editing styles into a concept that not only looks good but is useful for conveying information. A lot of the videos on social media with styles I found appealing don’t necessarily have the aspiration of actually teaching the viewer something, so I will happily accept the challenge of merging educational content with FX-heavy videos.

Since I plan on producing videos that are mostly intended for social media, there are a few aspects that should be considered for recording and editing the footage.

Resolution and Framerate

Probably most important for getting started with the video recording process is defining the frame rate and resolution.

While videos on social media usually play back at 30 FPS with a resolution of 1080 x 1920 px, the ideal recording specs for creating content that is mostly meant for social media platforms would be recording the footage in 4K UHD (which means a resolution of 3.840 x 2.160 px) and 60 FPS (60 Frames means generating 60 4K images every second). The reason for this is having more flexibility in the editing process. The bigger resolution will help with fixing framing mistakes in post production while the 60 FPS can be stretched for time remapping purposes such as creating slow motion effects.

I will most likely be using my Sony A7IV for my recordings, however, it would also be possible to just use a phone for recording, since many phones are capable of recording in 4K and 60FPS, so for our use case, a big professional camera setup would theoretically not even be necessary.

I would really like to find out how I can create a home setup and maybe even a mobile setup that allows me to effectively record and edit videos of the planned scope flexibly and thus also be suited for i.e. a setup on expeditions or field trips.

Further topics to be researched / discussed for video recording and editing

  • Lighting Setup
  • Camera Setup
  • Editing Setup

Topics surrounding the editing process

  • Masking / Rotoscoping / Keying
  • 2D/3D-Tracking
  • Time Remapping
  • Texturing (Texturelab)
  • Text animation
  • Greenscreen

Inspiration and Moods

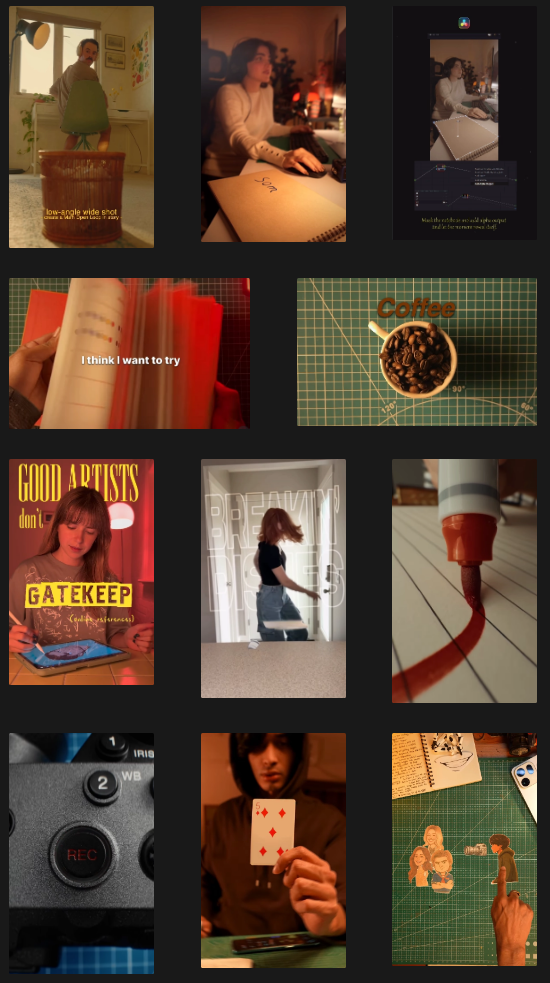
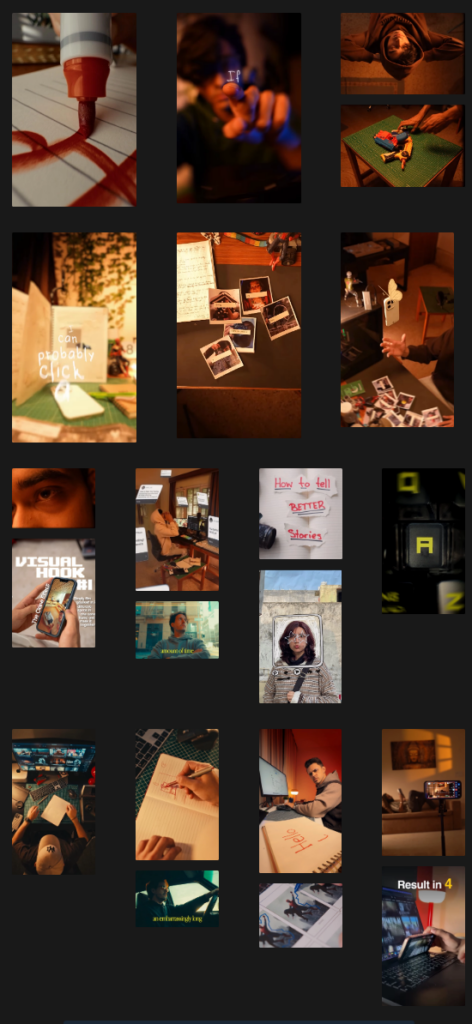
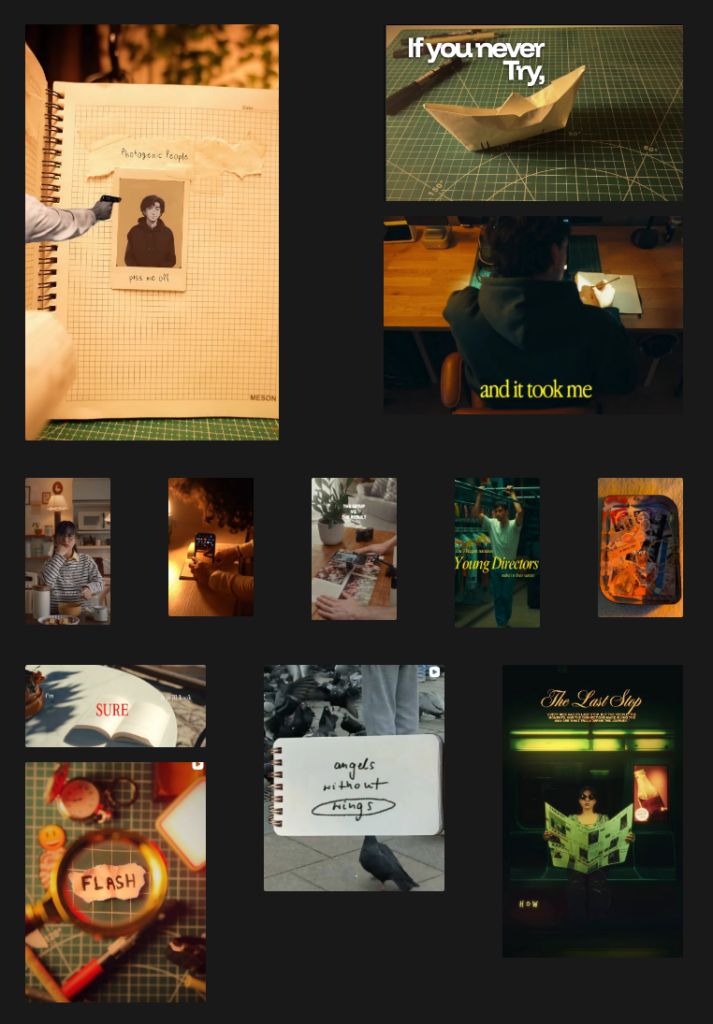
I have collected inspiration and resources (inlcuding tutorials) and spent some time just watching videos and analyzing their styles. Out of alle those videos, I put together some moods and visual styles that I might want to try out. Especially the first three creators I listed have been relevant to me for quite some time, as I have been following them have been very impressed with the look and feel of their videos. Hopefully, I will be able to adapt some of their ideas to fit my own.

Style / Edits:

  • Sankalp Pandey (The Two Faced_)
  • Jesse Chrisss (jessechrisss)
  • Steven Womack (stevenwommack)
  • Sam Kolder (samkolder) (filmmaking)
  • Jordi Koalitic (jordi.koalitic) (creative photography)
  • Benn Tkalcevic (benn_tk) (filmmaking)
  • Corridor Crew (corridordigital)

Moods

My rigging journey 2 – Once upon a ball

I spent around 3 hours of my tutorial with learning basic constraints. I have used quite a few of them in the past and therefore I only listened to it as a reminder. I also feel like I learn it better when I actually see them used in a real example.

Constraints such as: (sourse 250 page documentation of the course)

The clamp to constraints forces a bone location to stick to a selected curve.
The damped track axis makes the owner targeting (aiming) at a target.
The Locked track allows the owner to aim at a target but limits its rotation to only one axis.
The stretch to constraint allows the owner to aim at a target, and alsochanges its length and width based on the target distance.
The track to constraint is great for cameras.
The Copy location constraint forces its owner to have the same location as its target.
The Copy rotation constraint, as all the other transform constraints, uses world space to world space by default. The owner gets the same orientation as the target.

Then it was time for my first rig.

I began where everyone begins. With a basic ball. Everything was still quite simple, however I don’t think I ever did a good working squash and stretch. The main focus of this lecture was to get into good habits. As an example, renaming your bones as soon as you create them by pressing F2.

Generarally the ball needed a total of 5 bones. The rig consists of a root bone, a deformer bone, a rotation bone, a mechanical bone and two squash or stretch bones. The root bone is above all the other bones in the hierarchy and every other bone follows the root. The deformation bone is the only bone directly influencing the ball model However, the deformation is depending on the mechanical bone, which stretches from (a constraint) the base to the top squash.

I had a few brief moments of confusion due to the fact that I work in Blender 5.0 and the tutorials are in a 3 or 4 version of it. The general instructions were clear and easy to follow with a few pauses in between.

The finished rig is clear structured and read to be animated with.

Here is the rig in movement.

The next project in the tutorial is a spider ball. It is essentially a little robot which can hide its head and legs to look like a ball. It jumps from 5 lessons for the ball rig to 28 lessons for the spider ball rig. I assume I will have more to write about next time. Stay tuned!

D&R- Accessibility and Barriers (3/3)

On a physical and personal level, participation requires tools and environments that match children’s abilities and ways of expression. Visual materials, simple instructions, and tactile elements such as stickers or drawing tools help make ideas more understandable and engaging. Equally important is creating a safe and playful atmosphere where children feel comfortable expressing themselves. Participation is not only about capability, but also about emotion and confidence.

At the same time, participation is shaped by broader social and systemic factors. Access to appropriate spaces, time for workshops, and available resources all influence whether children can be included. Cultural attitudes towards play and children’s roles in decision-making also play a significant part. In many cases, adults still dominate design processes, limiting children’s involvement.

Identifying barriers made this even more evident. These barriers are not only physical, such as the lack of suitable tools, but also social and institutional. Time constraints, limited budgets, and established decision-making structures often prevent participatory approaches from being implemented. Additionally, children are frequently not taken seriously as contributors, which further reduces their involvement.

D&R- Change and Impact (2/3)

In the ā€œbeforeā€ scenario, playgrounds were often standardized, repetitive, and primarily driven by efficiency and cost. Design decisions were made without involving children, resulting in spaces that did not fully respond to their needs. As a consequence, children were less engaged, and playgrounds were not used to their full potential. The process itself was straightforward and inexpensive, but it lacked depth in terms of user experience.

In contrast, the ā€œafterā€ scenario highlights what changes when children are included in the design process. Playgrounds become more engaging, diverse, and meaningful, as they reflect children’s real experiences and desires. This leads to increased use, longer engagement, and a stronger sense of ownership among children. However, this shift also introduces new challenges. The design process becomes more complex, time-consuming, and resource-intensive.

Inclusion and Accessibility

The third step in analising my project’s users was inclusion and accessibility. This happened in two phases, where I asked myself some questions.

For whom is the experience accessible? What is needed for the full experience?

  • A mobile phone with GPS
  • An Internet connection
  • Vision, actually also a good eyesight
  • Basic knowledge about light pollution

What are the barriers? How do we make the product accessible?

  • Vision: for blind people, there could be an audio guide working with GPS that describes what is visible in the sky; the phone camera pointed at the sky could help reporting data about light pollution;
  • Myopia: the experience should be AR, so if someone does not see well from afar, they can still see the stars on their phone thanks to the camera; the phone camera could help reporting data about light pollution;
  • Hyperopia: When using AR and reading words on the screen, there should be an option to zoom in; text size changes and speech-to-text features should be supported;
  • Internet connection: there should be an option to save a report even when you are offline, then the data is sent as soon as Internet connection is reestablished; written feedback and progress about this should be shown;
  • Basic knowledge about light pollution: the app could have brief explanations or information buttons beside some sections, as well as explanations about the issue and its importance in general;

Discovering influence and impact

The second step to visualise who is involved in my project was to create various “before” and “after” scenarios, which I summarise below.

Before

  1. Scientists wonder about light pollution in a certain area
  2. Sleep experts wonder if there is a correlation between some sleep patterns and the light pollution of a certain area
  3. The government or the European Union do not direct their funds towards this problem due to lack of awareness
  4. Citizens feel helpless in front of environmental issues

After

  1. Nature lovers submit data about the night sky during their outdoor adventures
  2. Thanks to data collected by the Globe at Night Project, universities can research correlation between some sleep patterns and the light pollution of a certain area
  3. Thanks to collected data and awareness, young people concerned about the environment raise their voice and draw the institutions’ attention
  4. Thanks to a easy reporting feature, citizens can help scientists with small actions

D&R- System Map (1/3)

At the center of the system are playgrounds. Surrounding them are primary users such as children, parents, and caregivers, who actively engage with these spaces. Beyond this immediate layer, broader stakeholders like municipalities, urban designers, and local communities influence how playgrounds are designed, built, and maintained.

The map also highlights key relationships, such as the connection between children and parents, and the role of municipalities in shaping decisions that affect both groups. These interactions reveal that playgrounds are not isolated spaces but part of a larger social and institutional system.

Playgrounds is not only about physical structures, but about navigating a network of stakeholders, needs, and influences. This perspective reinforces the importance of including children’s voices within a complex design ecosystem.