Alright. Lesson two is done. And if lesson one took longer than expected, lesson two took longer than that.
I genuinely cannot pinpoint exactly why the hair gave me so much trouble. It wasn’t conceptually complicated, the process is pretty straightforward once you see it laid out. You start with basic geometric shapes, subdivide them until they’re rounder and softer, join everything together, apply the subdivision, and then smooth it all out with sculpting tools. Simple enough on paper. In practice I spent way more time on it than I’d like to admit, staring at lumps that refused to look like hair no matter what I did with them.
I think the honest answer is that sculpting just isn’t naturally where my head is at. Coming from a background in film and motion design, I’m used to working with footage, keyframes, timing. Things that move through time. Pushing and pulling geometry in 3D space with a brush is a completely different kind of spatial thinking, and apparently mine needs some work. That said, the process was still genuinely interesting, because up until this point I had absolutely no idea how you’d even approach creating a 3D object in a weird, organic shape. Now at least I have a method.
A Few Things That Actually Made Sense
One thing that clicked really nicely was the asymmetry tip. When you’re working in a simplified, stylized character style like this, perfectly symmetrical hair looks artificial and stiff. Adding small variations, a strand that goes slightly differently, a volume that’s a bit fuller on one side, makes the whole thing read as more natural even within an intentionally simple aesthetic. It’s a small detail but the difference is visible.
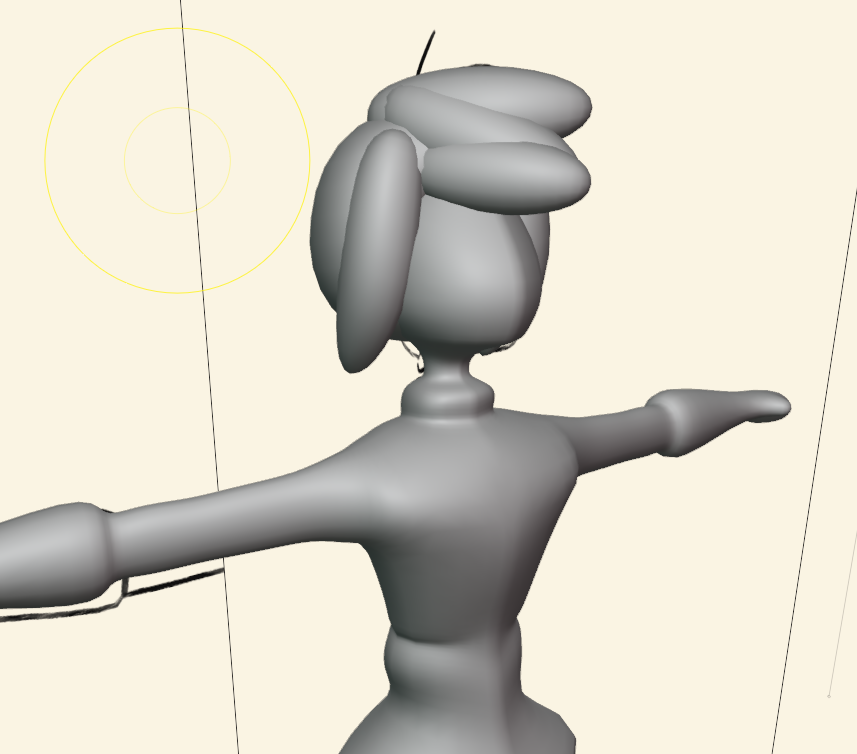
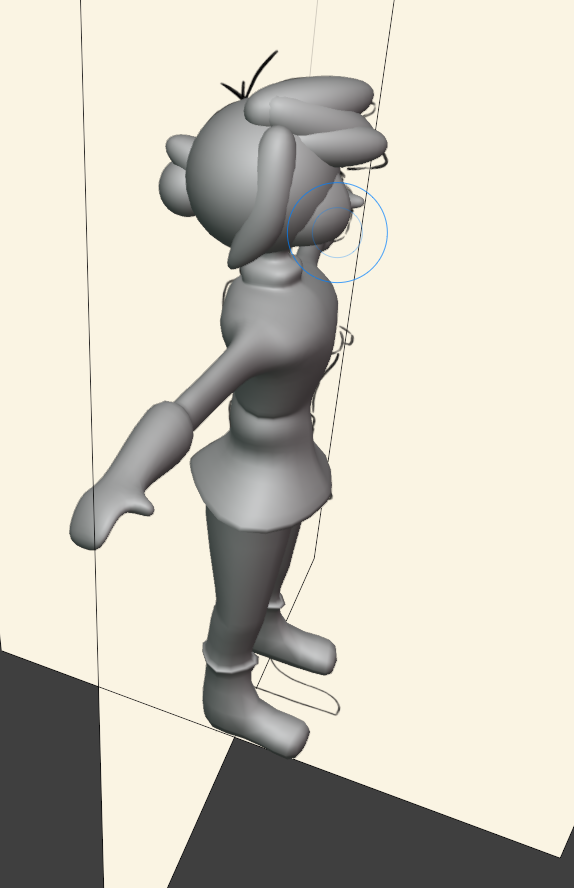
I also picked up a workflow trick I’m going to use constantly going forward: how to create a clean round shape from a cube. You loop cut the cube at specific points, then apply a subdivision surface, and you get something much smoother and rounder than you’d expect from the starting geometry. This is how Patata School approached the ears, and it works really well. A circle that actually sits cleanly in 3D space, built from a box. Genuinely useful to know.
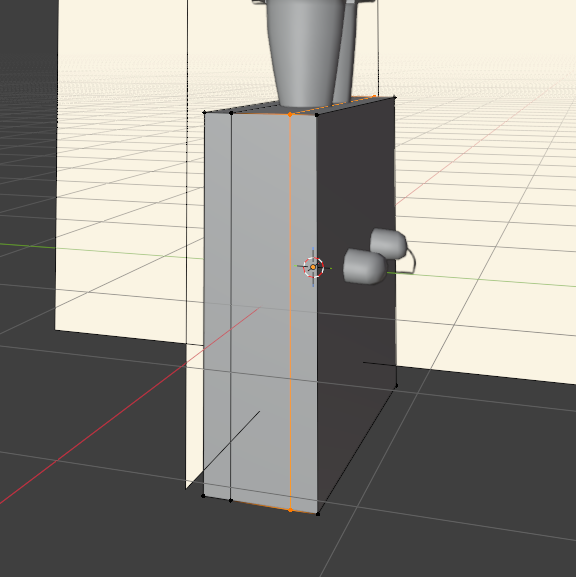
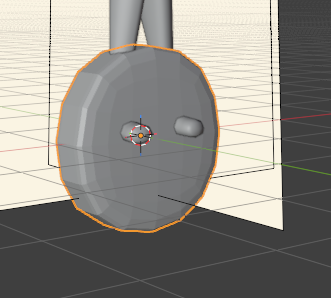
The other thing worth noting is how to place symmetrical objects on a character that weren’t part of the original mirrored mesh. If you want to add something like ears after the fact and have them appear on both sides, the trick is to keep the point of origin at the center base of the character, move the object into position in edit mode rather than object mode, and then apply the mirror modifier. Because the origin is centered, the mirror lands exactly where you want it. Clean, no manual placement on the second side. Once I understood why it worked it made complete sense, but figuring it out in the moment would’ve taken me a while on my own.
The Grease Pencil Part Was Actually Fun
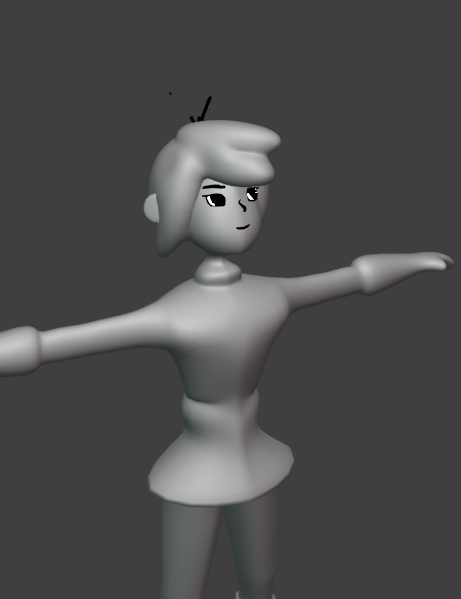
After everything I just described, getting to the face was a relief. Patata School uses Blender’s Grease Pencil tool to draw the facial features directly, eyes, mouth, a few hair strands, in a hand-drawn 2D style that sits on top of the 3D model. The result is this slightly goofy, dorky character that looks like it came out of a children’s illustration, and I mean that as a compliment.
I had a genuine laugh looking at what I produced. Preschool-level drawing, objectively. But it has personality, which matters more than technical precision at this stage.
One thing that helped a lot here: switching between Origin and Surface mode in the Grease Pencil settings. In Surface mode your strokes are applied directly to the surface of whatever object you’re drawing on, so the face actually sits on the body rather than floating in front of it. Makes the whole thing look much more cohesive.
The One Thing That’s Still Bothering Me
The body smoothing didn’t fully work out. There are a couple of visible dents along the mirror axis where the two halves of the mesh meet, and no matter how much I poked at them with the sculpting tools, I couldn’t get them to disappear cleanly. Eventually I just left it. Sometimes you have to accept that something isn’t perfect and keep moving. Spending another hour on a seam that might not even be visible in the final render isn’t a good use of time.
The hard part is done though. Next up is materials and color, which I’m genuinely looking forward to.
See ya!
