Of all the things in this process I had been quietly afraid of, rigging was at the top of the list. By quite a margin.
My only real previous experience with rigging a character was painful enough that it left a mark. Hours of work on a model that was significantly simpler than this one, with very little to show for it at the end. So going into this session I had a specific kind of low-grade anxiety about the whole thing. The kind where you keep putting off pressing play on the tutorial because you already know it’s going to be hard.
It was hard. But nowhere near as hard as last time, and that’s almost entirely down to having a clear method to follow.
How Patata School Approaches Rigging
The starting point is Rigify, which is a Blender add-on that comes bundled with the software but needs to be manually enabled in the preferences before you can use it. Once it’s active, you get access to the Rigify Basic Human Meta-Rig, which is essentially a preset skeleton built for humanoid characters. Instead of placing every bone from scratch, you start with something that already has the right structure and just adjust it to fit your specific model.
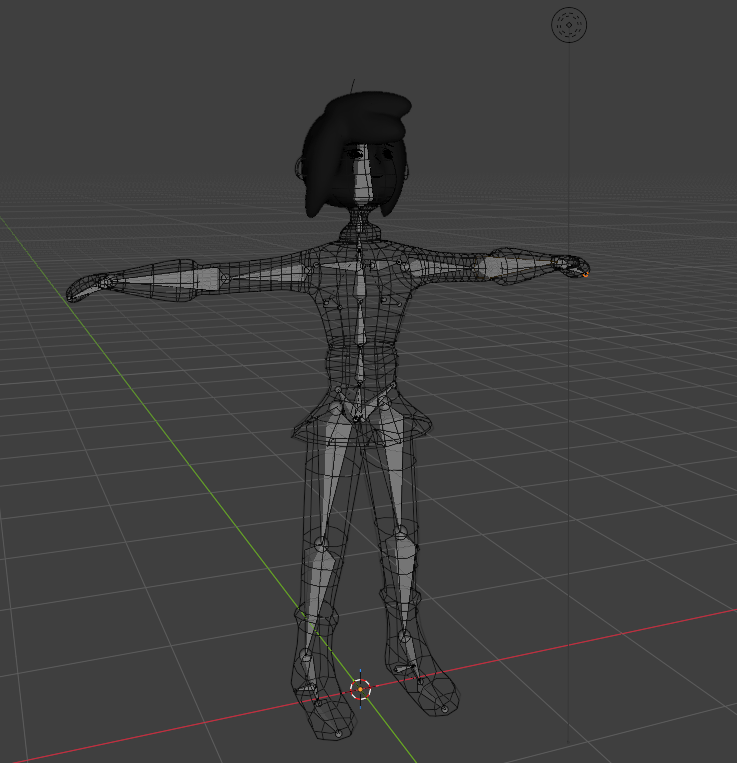
The process goes like this: add the meta-rig, scale it so it roughly matches the proportions of your character, and then apply the scale before doing anything else. Skipping that step causes all kinds of strange behavior later in the process, so it’s worth being careful about. Then you go through and reposition each bone so the joints sit exactly where they should on the model. Elbows, knees, shoulders, hips. The goal is to get the skeleton to match the character as precisely as possible.
Two things Patata School emphasized here that genuinely matter: first, make sure the bones are placed at the actual joint positions, not just roughly in the right area. The quality of the deformation later depends directly on this. Second, and this one is easy to overlook, bend the limbs very slightly before generating the rig. Just a small angle at the elbow and knee. This tells Blender which direction those joints are meant to bend, and without it the automatic weight painting can get confused and produce some deeply weird results.
Once the bones are positioned correctly you hit Generate Rig, which converts the meta-rig into a fully functional control rig with all the handles and constraints you’d expect. Then you parent the mesh to the rig using Automatic Weights, which attempts to figure out on its own which bones should influence which parts of the mesh.
Attaching the Hair
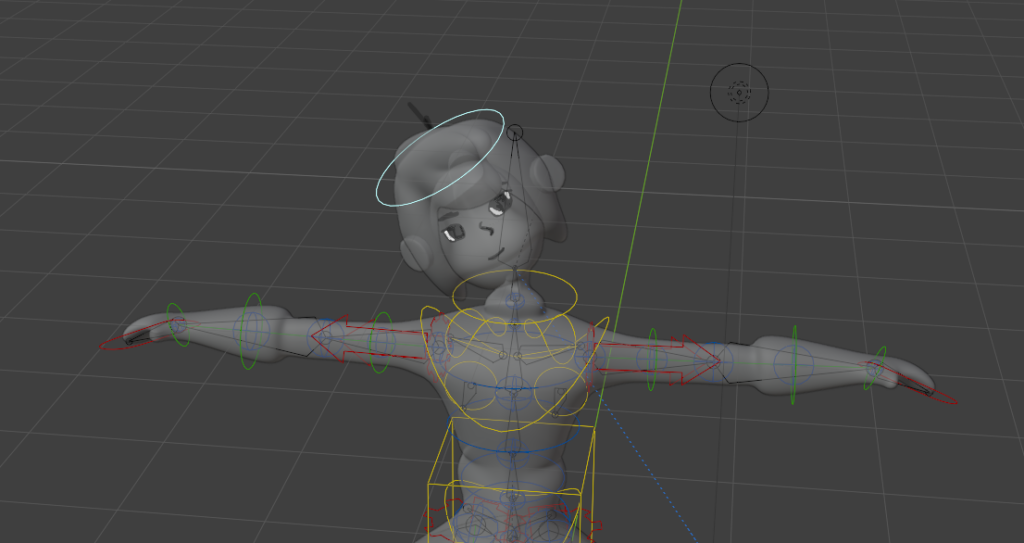
The hair isn’t part of the original body mesh, so it can’t just be parented with Automatic Weights like everything else. The approach here is a bit different. First you apply all transforms on the hair object, which is one of those steps that sounds boring but prevents a lot of confusing behavior down the line. Then instead of parenting directly, you add a Child Of constraint to the hair and set the head bone as the parent. This tells the hair to follow the head bone specifically whenever the rig moves.
The catch is that after setting this up the positioning usually shifts, because Blender is recalculating the relationship between the hair and its new parent. The fix is straightforward: hit Set Inverse in the Child Of constraint settings, which snaps everything back to where it should be. Once that’s done the hair moves cleanly with the head, exactly as it should.

The Part Where Things Got Funky
Automatic Weights is impressive and also not perfect. In my case it produced two specific problems that needed fixing.
The first one: my Grease Pencil eyes were stretching when I moved the head. Not a subtle stretch either, a full-on horror-movie distortion. The fix was to manually weight paint the eyes so they were fully and exclusively influenced by the head bone, removing any competing influence from surrounding bones that had crept in.
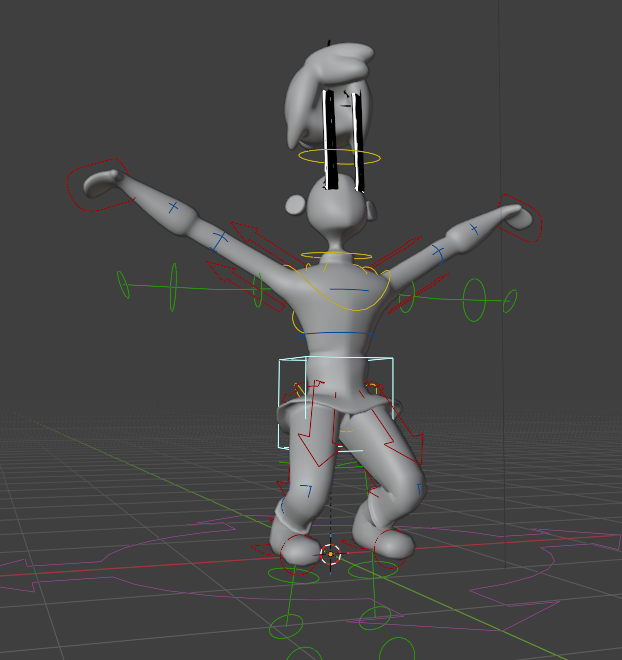
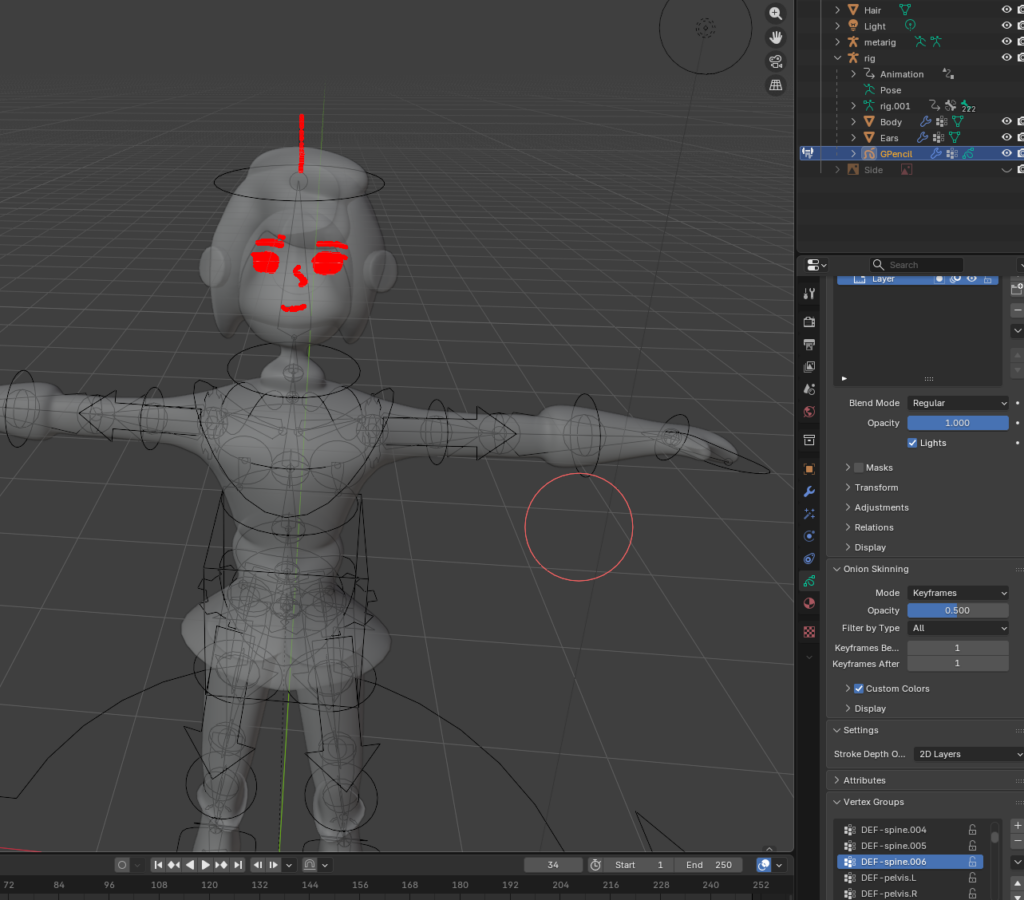
The second one was genuinely funny. My ears were moving with my arms. Not the head, the arms. I have no clear explanation for why the automatic weight process decided that’s what should happen, but it did. The fix here was simpler than I expected: I selected the ears in Object Mode, went into the vertex groups, found the ones corresponding to the upper arm bones, and deleted them. With those influences removed, the ears behaved correctly.
After sorting out the weights I also went back through the materials, because moving the character around revealed a few spots I’d missed in the previous session where faces either had no material assigned or had the wrong one. Small fixes, but worth doing properly before moving on.
And then everything worked. Genuinely worked, arms moving right, head moving right, ears staying where ears are supposed to stay. I was relieved in a way that probably says a lot about how the previous sessions had gone.
One Honest Note
The tutorial wasn’t completely step-by-step for every problem that came up. The instructor ran into different issues than I did when generating and applying the rig, which meant I had to go and research some of the fixes myself rather than just following along. A bit frustrating in the moment, but probably good practice for the reality of working in Blender independently, where you will constantly be troubleshooting things the tutorial didn’t cover.
Next up is actually setting up the stage my character will move around in. Before that though, a quick note: the next lecture in the Patata School course covers how to give your character weapons to hold and animate them accordingly. Interesting, but completely irrelevant to what I’m building here. I’m skipping it for now and will come back to it if I ever find myself working on a project where that’s actually useful.
See ya!
