Short one this time, because honestly there isn’t that much to say. Setting up the stage for my animation was by far the easiest and most straightforward part of this whole process so far.
Before I actually got into it though, I noticed a leftover issue from the previous session. The Grease Pencil eyes I painted onto my character were still behaving strangely, changing brightness depending on the viewing angle. The fix was simple: in the Grease Pencil material settings, turning off the Use Lights option makes the material ignore scene lighting entirely and display at a flat, consistent brightness regardless of perspective. Should’ve caught that earlier, but glad it was an easy one.
Building the Stage
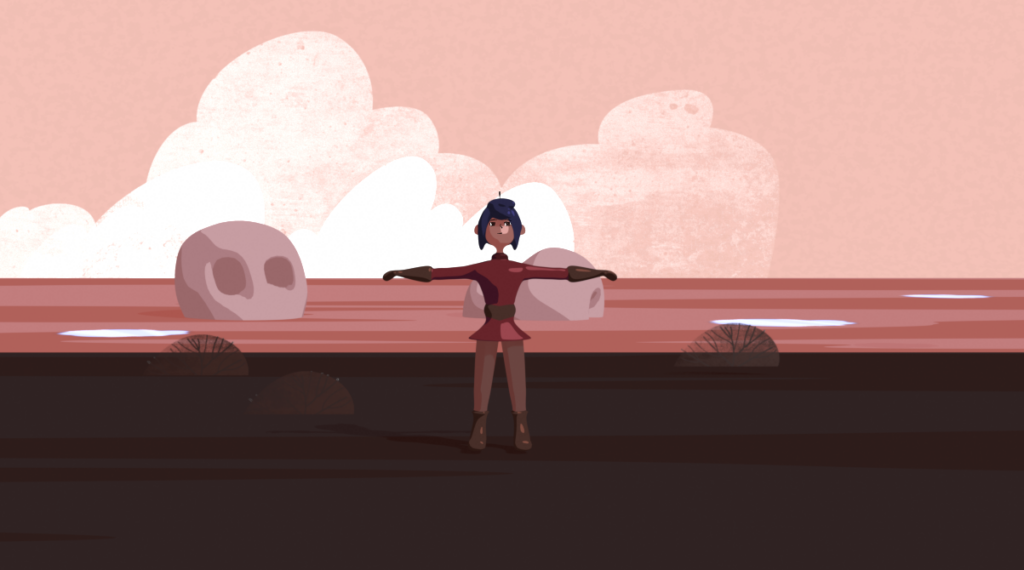
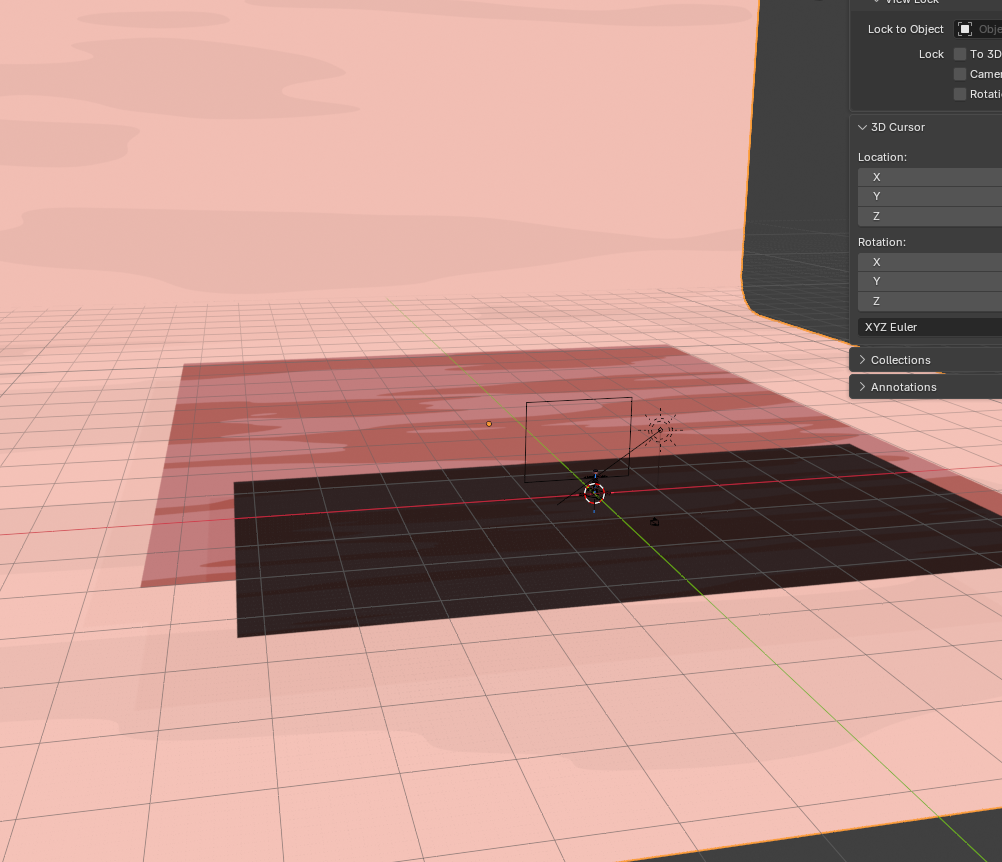
The lecture covered placing the ground plane the character walks on, adding a background plane behind the scene, and applying textures to both. The textures were set up using a geometry node structure that I’ll be honest about: I just copied it from the tutorial without fully digging into how every node connects. It worked, it looked right, moving on.
The one thing worth flagging here is clipping. If you place objects far enough from the camera, Blender stops rendering them by default. To fix that you increase the clip end distance in the camera settings, which extends how far into the scene Blender is willing to render. Easy to forget, slightly annoying when you do.
Two Things I Actually Learned
The pre-made objects in this part of the course were already prepared by Patata School, so I just had to bring them into my scene rather than building them from scratch. Which sounds simple, and it is, but the way you do it in Blender was new to me. You use the Append option from the File menu, navigate to the external Blender file you want to pull from, and select the collection you want to import. Everything comes in exactly as it was set up in the original file. Very clean, very practical, something I’ll definitely use again.
The other thing I picked up is that you can add 2D images to a 3D scene as mesh planes rather than just flat image textures floating in space. The advantage is that mesh planes actually interact with the scene lighting and cast shadows, which makes them behave like real objects rather than just stuck-on graphics. That immediately made me think of 2.5D projects, which I once tried to pull off in After Effects and found genuinely painful. Doing that kind of thing in Blender, with proper depth, lighting and shadow, seems like a much more sensible approach now that I know how it works.
Other than that, nothing dramatic happened this session. Next one is animation, which I expect to be considerably less relaxing.
See ya!
