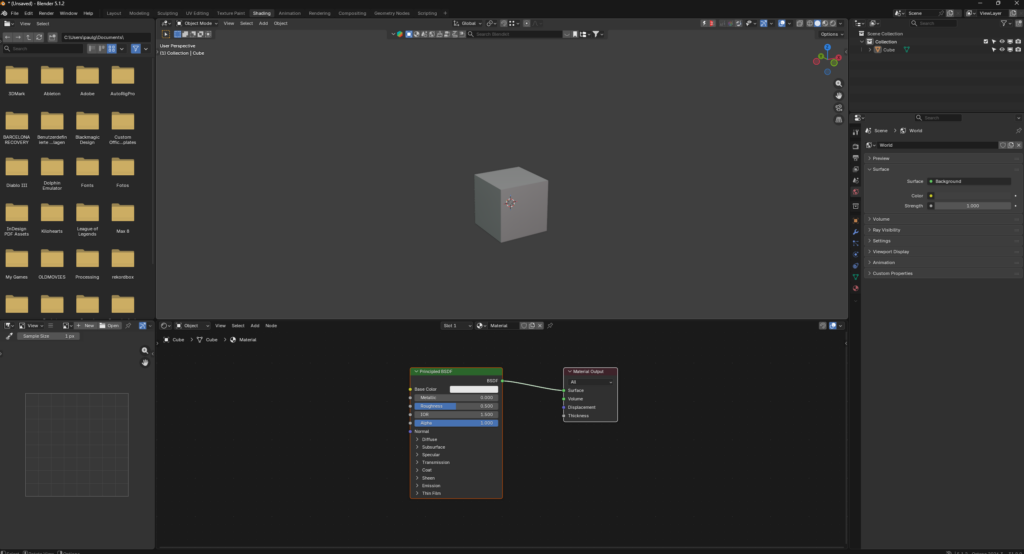
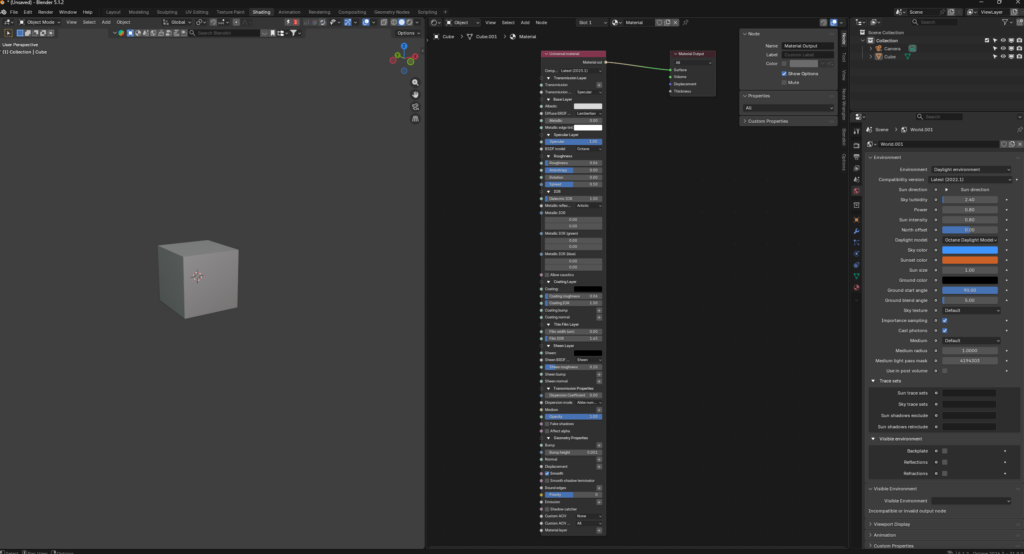
Once Octane was actually rendering something recognizable, the next set of obstacles weren’t conceptual – they were just Octane doing familiar things in unfamiliar places. None of these were deal-breakers on their own, but together they added up to a surprising amount of lost time.
Denoising Is Hiding Where You Don’t Expect It
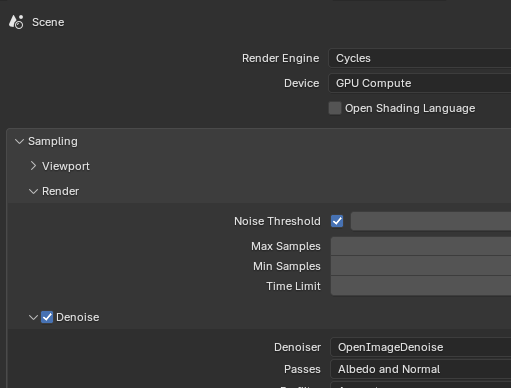
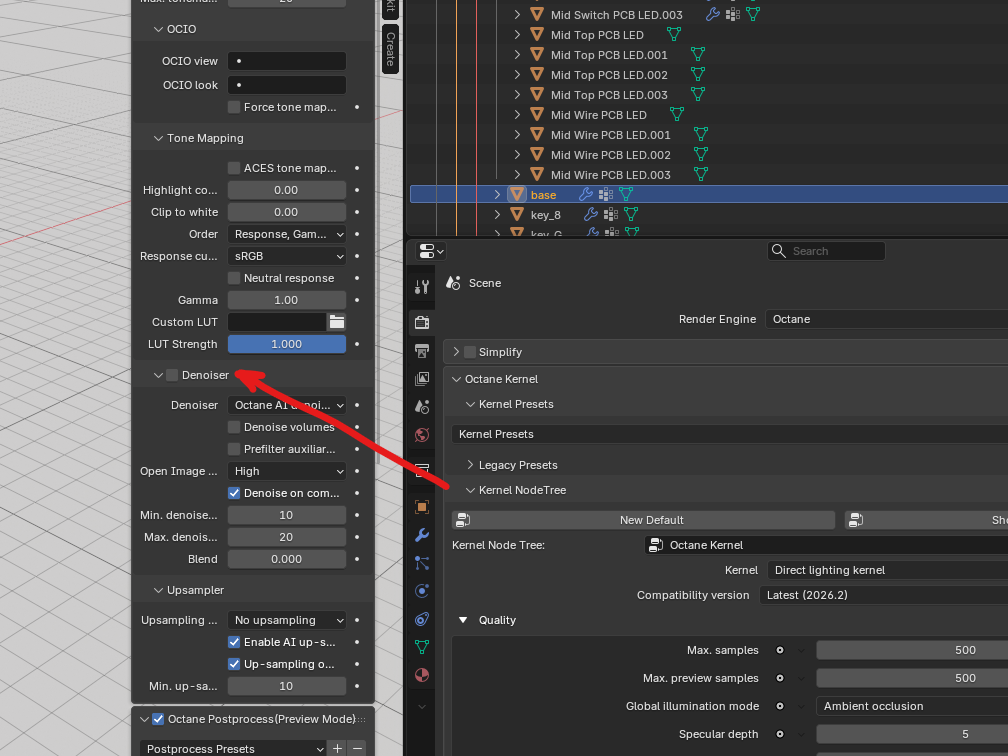
In Cycles, denoising lives exactly where you’d look for it – in the render settings. In Octane, it isn’t there at all. Instead, you have to open the properties panel from inside the viewport itself, using the N key, and enable denoising from there. Normally the properties panel mirrors what you’d see on the right-hand settings tab, so having a setting that only exists in the viewport version and nowhere else was disorienting the first few times I went looking for it.
Two Output Systems, and I Only Wanted One
Octane comes with its own dedicated output panel, which on the surface is a nice upgrade – more options, more control. But the default behavior caught me off guard: rendering a single image produced five separate output images at once, which for what I needed was just extra clutter. I’m used to Cycles, where you deliberately set up separate view layers or render passes only when you actually need something like a depth map alongside your main image. Octane just gives you all of it by default.
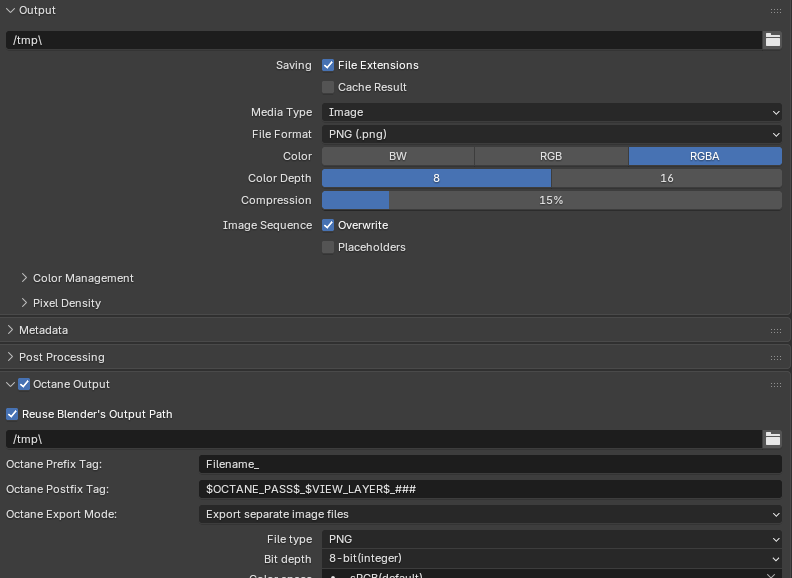
That doesn’t sound like a big deal until you scale it up. My animation was 513 frames long. At five outputs per frame, that would have finished as roughly 2,500 individual frames – five times the disk space for a result I didn’t need in that form. I ended up switching back to Blender’s standard output system, which is still available alongside Octane’s own – though having two separate output windows sitting side by side in the interface is its own small source of confusion.
The Convert Material Button, With Reservations
One thing that did genuinely help: the Octane add-on ships with a “convert material” button, which attempts to translate an existing Cycles shader setup into an Octane-compatible one automatically. I’d gone in assuming I’d have to rebuild every material from scratch, so this was a pleasant surprise when it worked – somewhere around half to sixty percent of the time, it did.
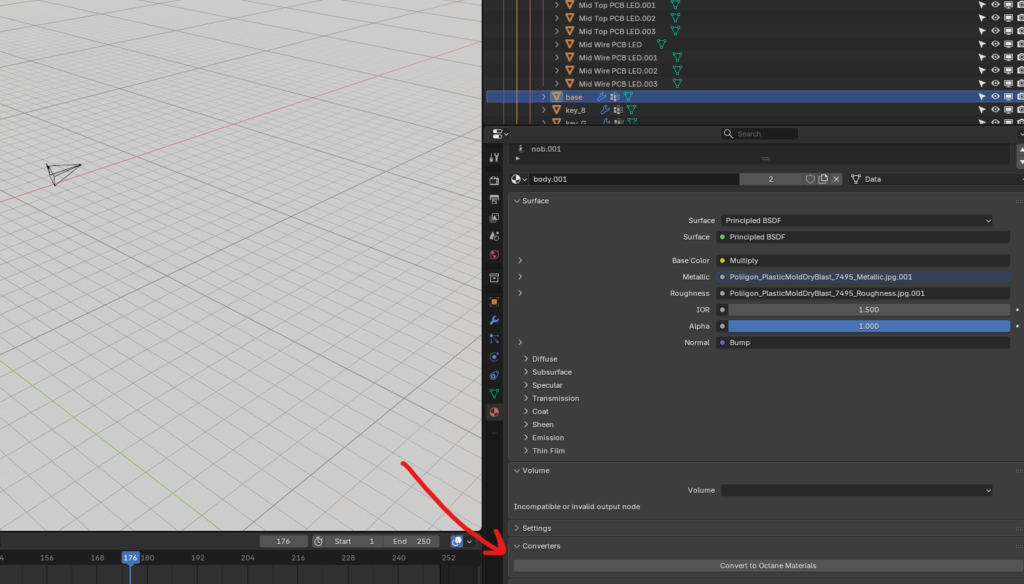
The rest of the time, results were mixed. Occasionally the conversion wiped the node tree entirely, leaving nothing behind. More often it partially converted but dropped information along the way, which meant I had to manually rebuild specific materials – particularly the device’s buttons, which relied on several layered images stacked on top of each other that the converter didn’t carry across cleanly.
Rearranging My Screen for Octane’s Node Editor
The last adjustment was purely about screen layout. Blender’s default shading workspace splits the screen horizontally – viewport on top, shader editor on the bottom. Octane’s node trees, by contrast, are tall. Very tall, especially once you factor in that most nodes come with collapsible sub-sections that are open by default and that you rarely close, since you might need them later. Working in that default horizontal layout meant constantly scrolling to see the whole graph.
I ended up rearranging my workspace so the viewport sits on the left side of the screen and the shader editor takes up the right side vertically, giving the node tree enough room to breathe. Once I made that change, actually building materials in Octane felt a lot more natural – which is a good segue into how those materials actually compare to what I’m used to in Cycles.