The tutorial continued with a humanoid character. This time a robot – surprise – but it has some more organic parts. As always, the rigging process starts by creating the deformation bones. At this point I am pretty quick and experienced at this step. I have gotten used to the repeated use of the 3D cursor and I am a bit of a fan. I can tell that I am getting more used to all the needed shortcuts and that my processes are speeding up.
The next step was the skinning process. The tutorial went through the different options on how to approach. I have often used automatic weights before and adjusting how I needed it. This had in the past, however, led to me not knowing exactly what I was doing. Often everything got so much worse before I could fix anything. Therefore, I am a fan of using empty groups when parenting the armature to the character. Then assigning general areas to the vertex groups in the edit mode before moving over to details in the weight painting. As for the weight painting, working with small steps while adjusting gets a good result quickly. Don’t forget to put on Auto-normalize, otherwise a double transform could happen.
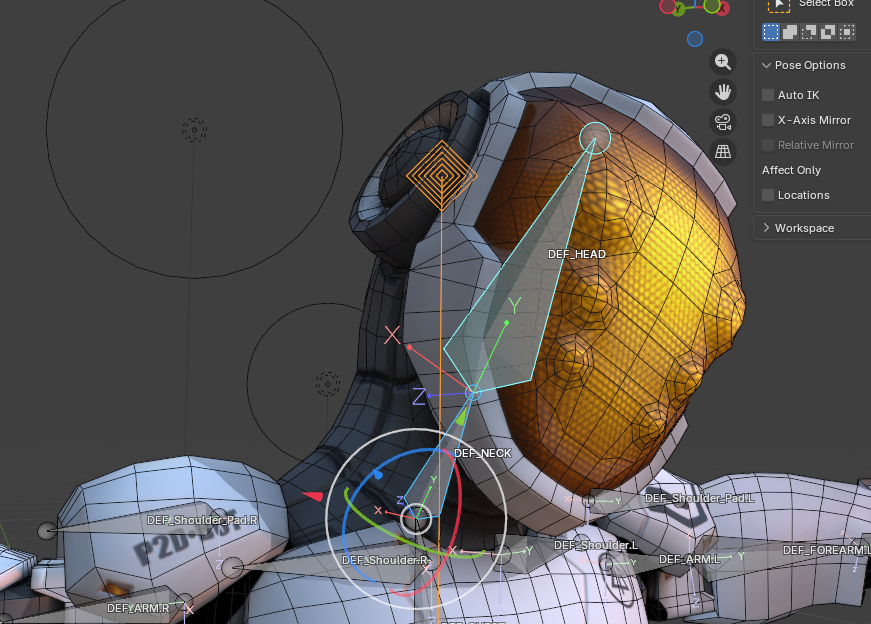
I was just getting into the little details of adjusting the weight of the neck, when Lay sent me her character she made for DesRes, asking if I could make some rig adjustments. She had used rigify. While it can be alright, I find it hard to work changes into it. So I decided I am just going to do my tutorials with her character instead of the provided one. Which meant for me scrap that, we are going back to step one. Let’s do all the Deformation bones again as well as the weight painting.
Now with this little side adventure I was back on track. Starting of with creating the Control rig, which essentially only means duplicating the deformation bones, putting them in their own bone collection and renaming them from DEF to ORG. And why is the naming convention important this time especially? Because we are running a Python script, baby! Yes, for the next step – putting a copy transform on all the DEF bones – a Python script was provided. Letting it run got rid of the process of having to do it manually for all the bones.
Now the more complicated part of rigging could begin again. Make everything work the way it is supposed to. Starting of with the torso, a center of gravity bone was created. Then we needed a way to adjust the different spine bones as well as move them together with one main controller. This worked as usual with a bunch of constraints and a lot of mechanical bones. Also important a connected child bone can’t be changed, cause it sticks to its parent. So we had to change some parenting from connected to disconnected. (Both in the ORG as well as the DEF skeleton)
The head and neck were similar built as the torso. The biggest new thing was that we created 2 custom properties which let you change whether the head and neck are following the body or not. This again works with extra mechanical bones and a driver system controlling the influence of the bones.
I don’t have as much to write about, since it was a lot of repeating processes. It really helps me get into rigging and I am happy for a lot of repeats which make me feel like the learning is sticking. Not always and everything, but a lot is now very clear to me.
