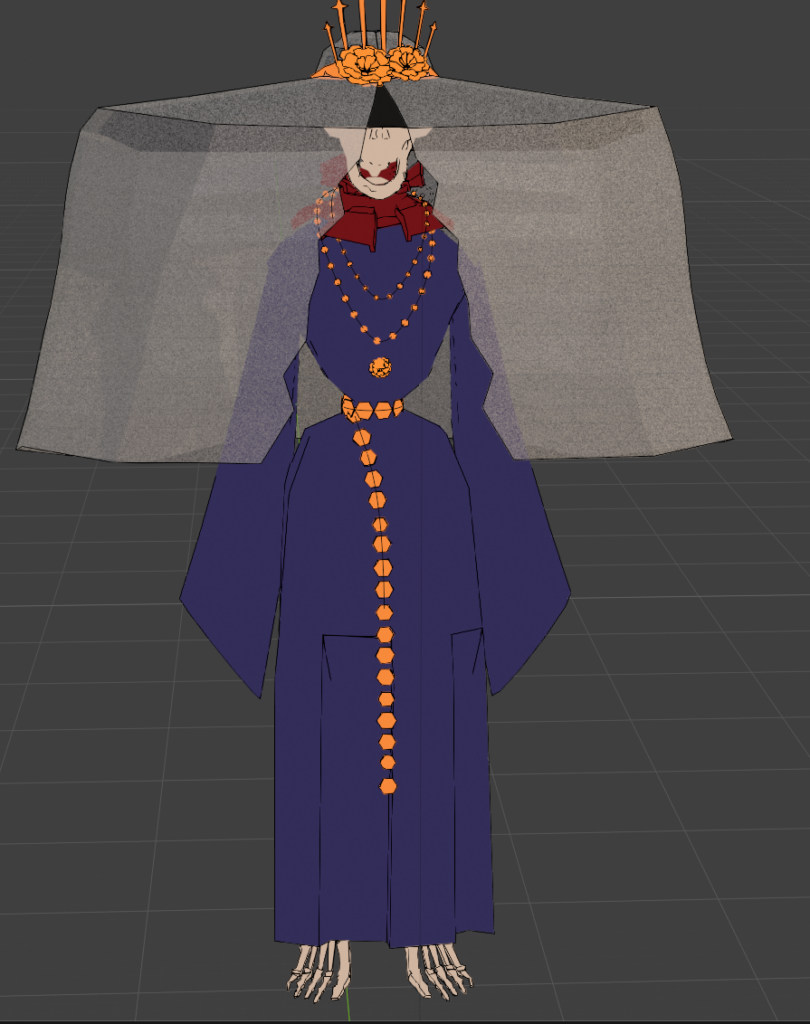
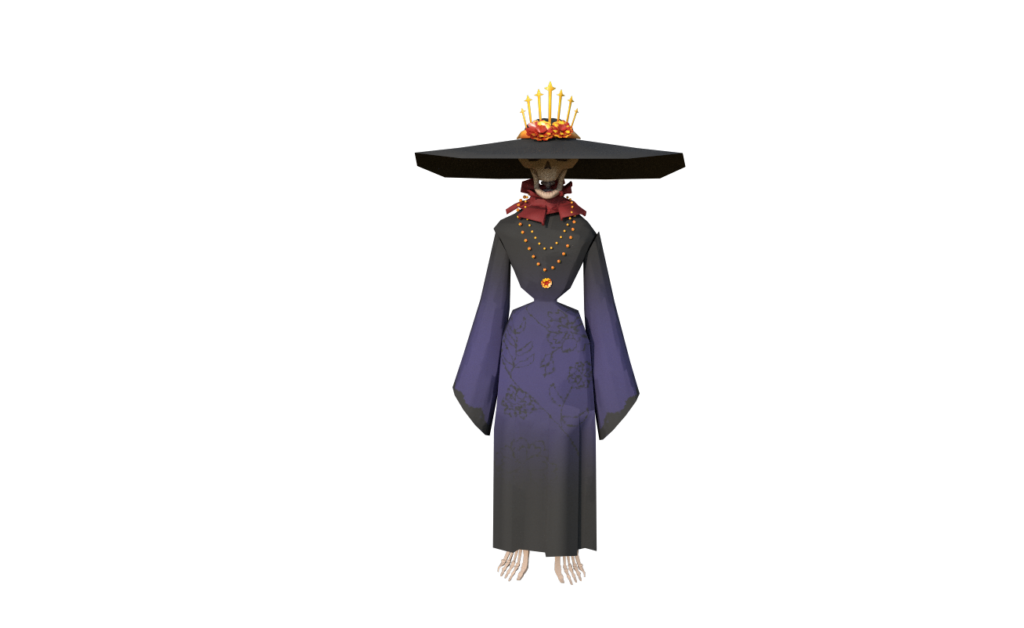
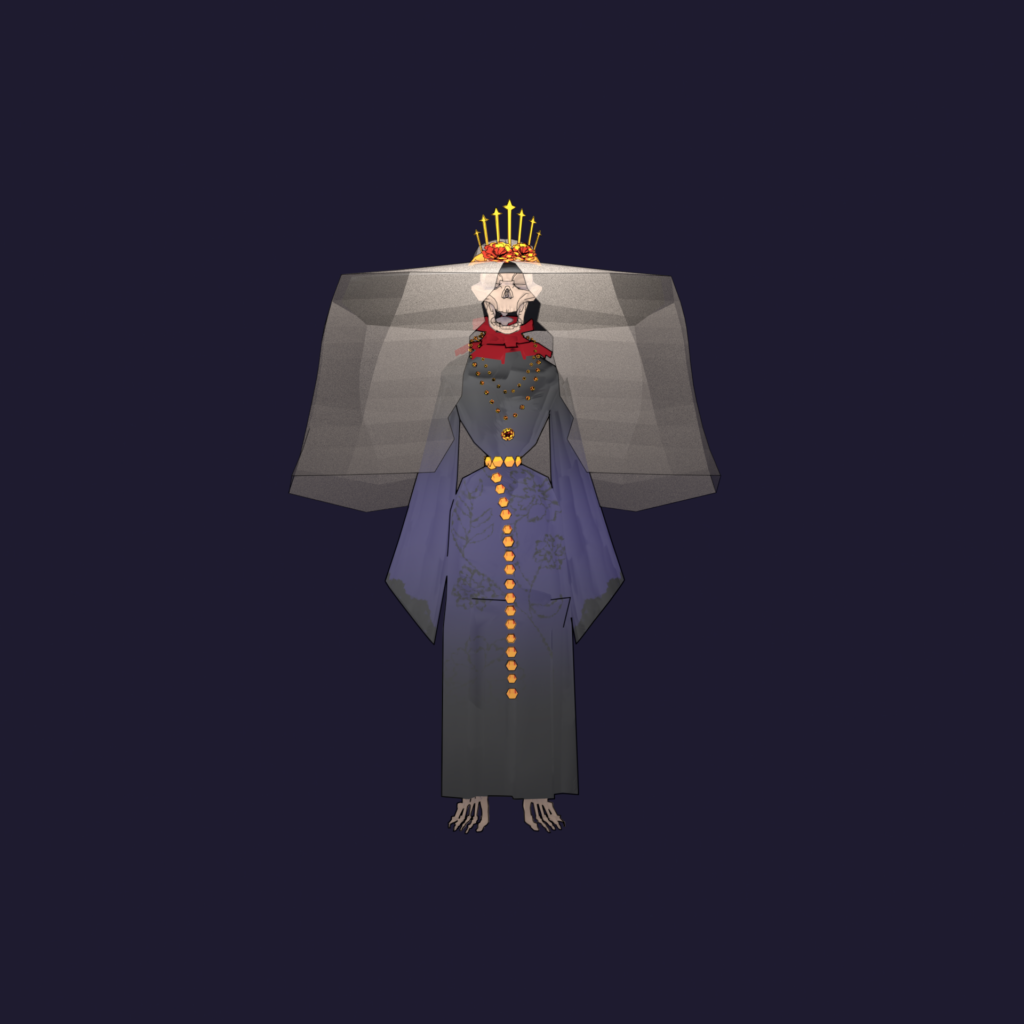
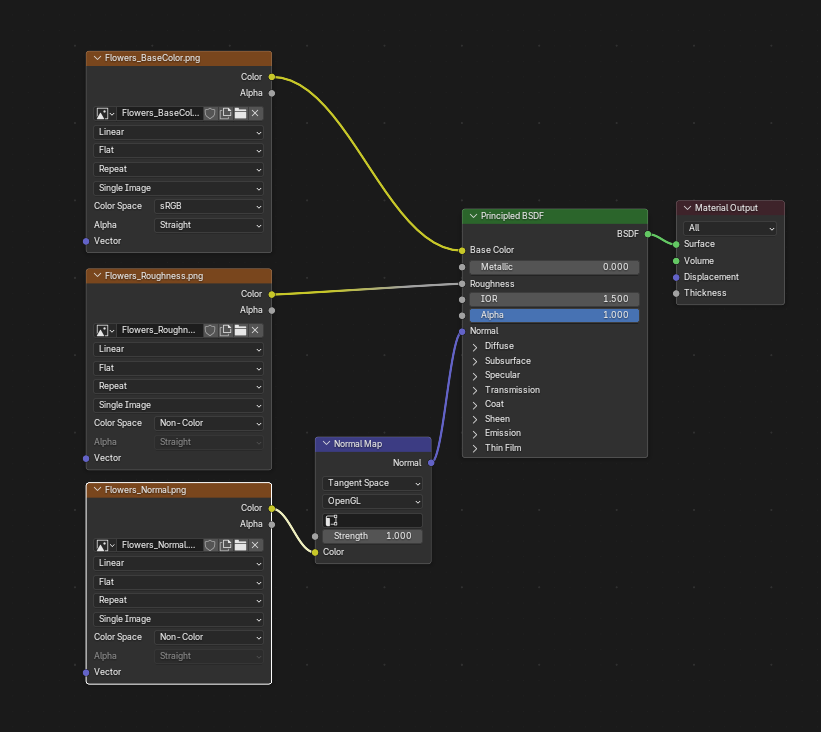
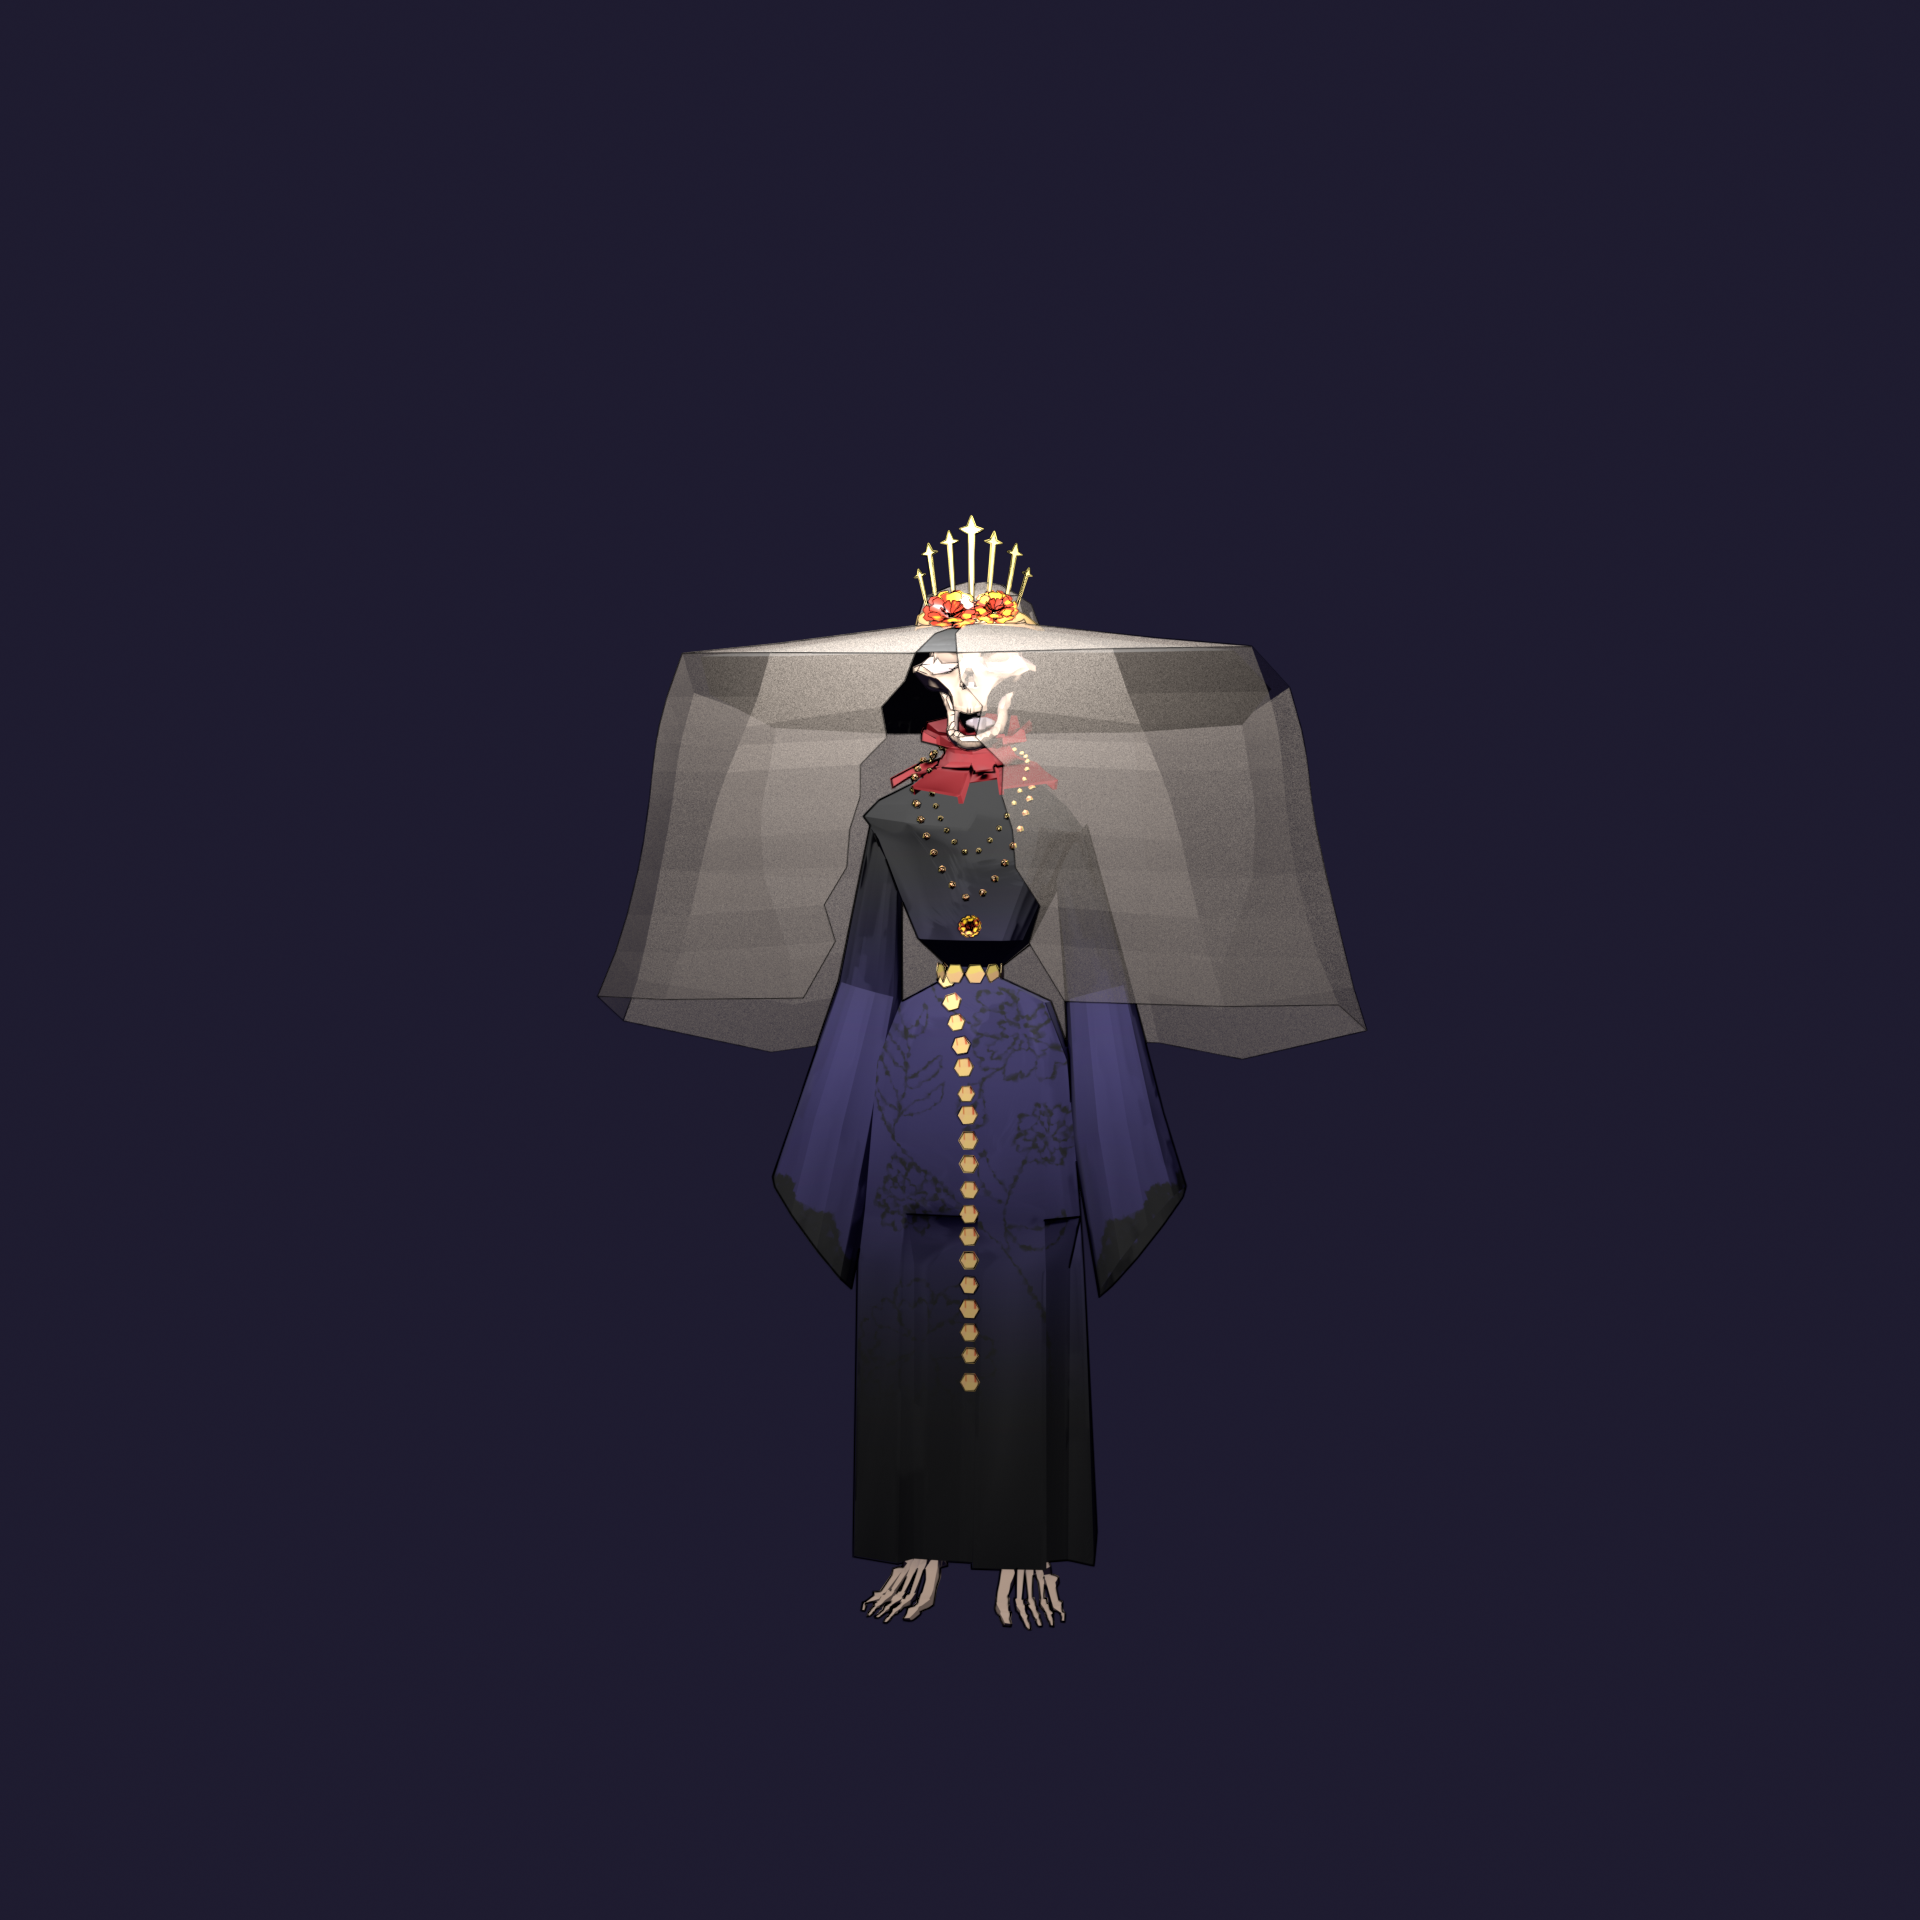
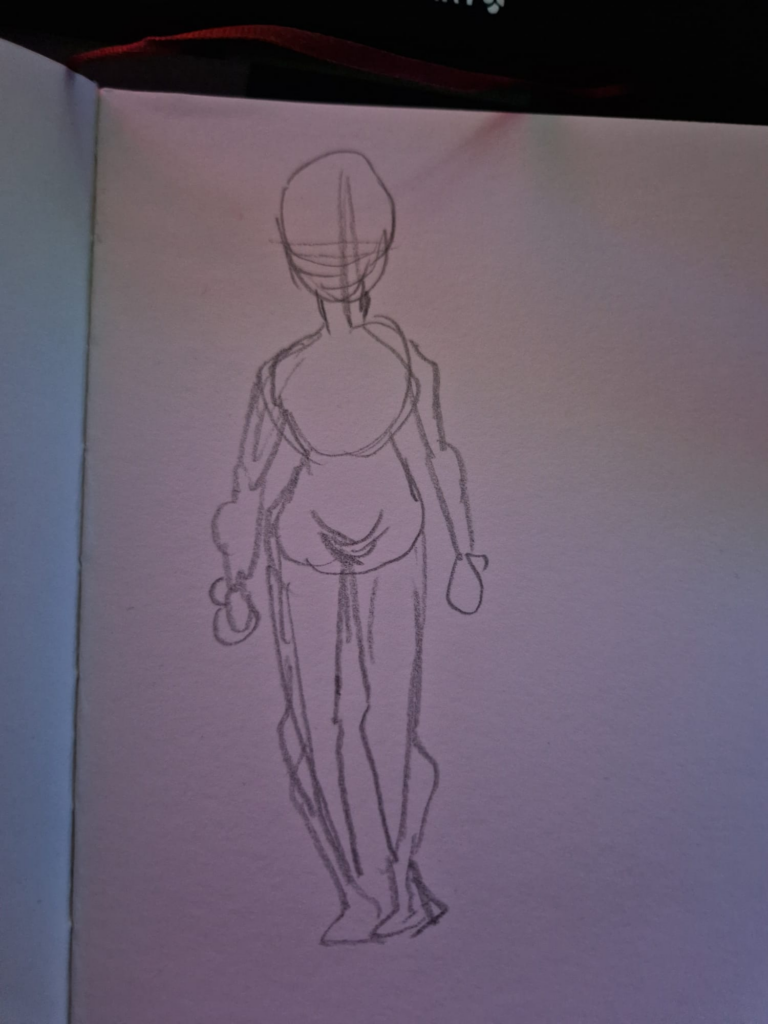
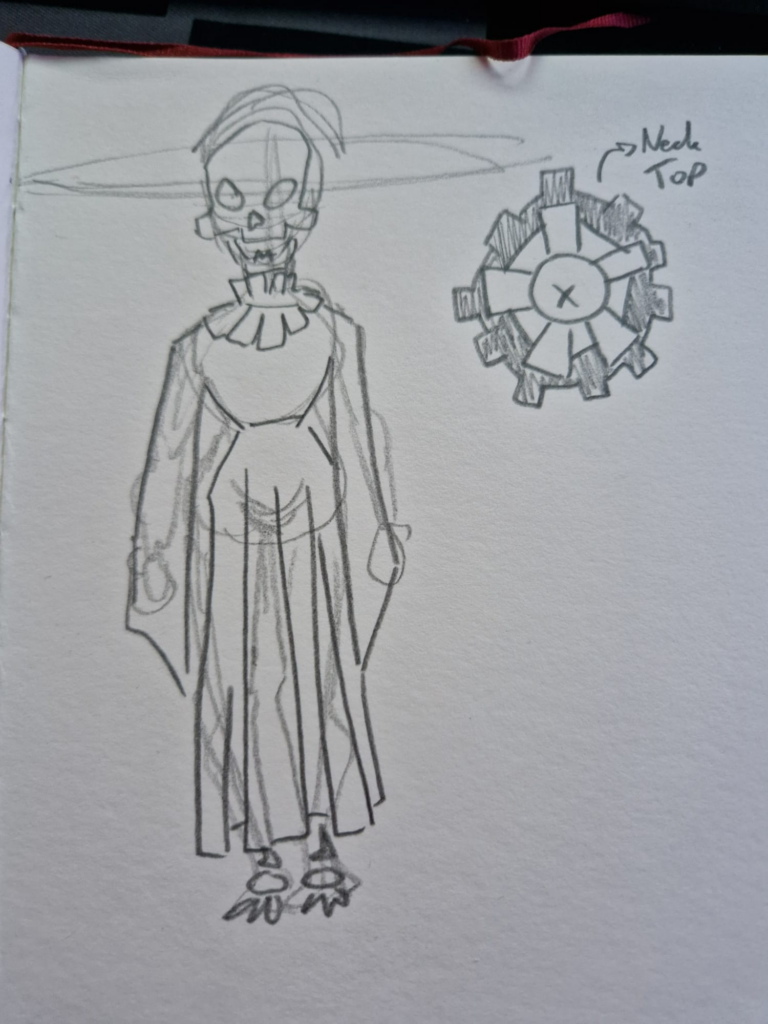
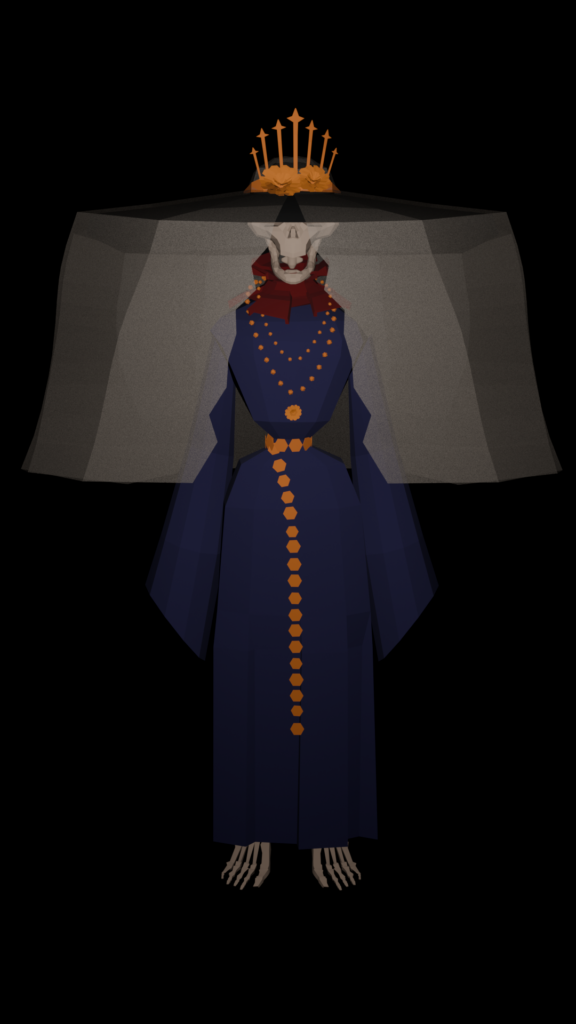
My rigging journey part 6 – It is alive!

After I finished the rig I wanted to play a bit with it. So I chose to pause the tutorial for one blog post. I animated the spider ball with the intention of showing off most of its features. I went back to the basics and animated a bouncing ball. I tried using the feature of blender to simulate a bounce with the interpolation method. However, it caused more problems than it helped. It never had contact with the ground except at the end and you could not manually adjust the height. Since it is an interpolation type it would generate the bounce between the new keyframes again and destroy the intended bounce. So I switched back to manually animating it. I went with switching the interpolation to stepped in the beginning­ – something we were taught in the bachelor to do. It is a lot easier to get the timing right with the stepped mode. I started with only animating the the x and y direction. Then I added the spin and at the end the squash and stretch.

As for the other movements I wanted to show off the head and the possibility of moving it like BB8 in Star Wars. So the ball rolls in, looks at the cam and rolls out again.

Last but not least I let my buddy show his full pride. He is all grown up ready for anything with its handguns.

It is a very quick animation and I normally would go over it again several times but as I only wanted it to show off its capability I am happy with the little showcase I created. The only thing I think the rig is missing, are some sort of eye lids or shutter for the head. You could immediatly create more emotions by adding them.

My rigging journey part 5 – Proud parent of a ball with legs and guns

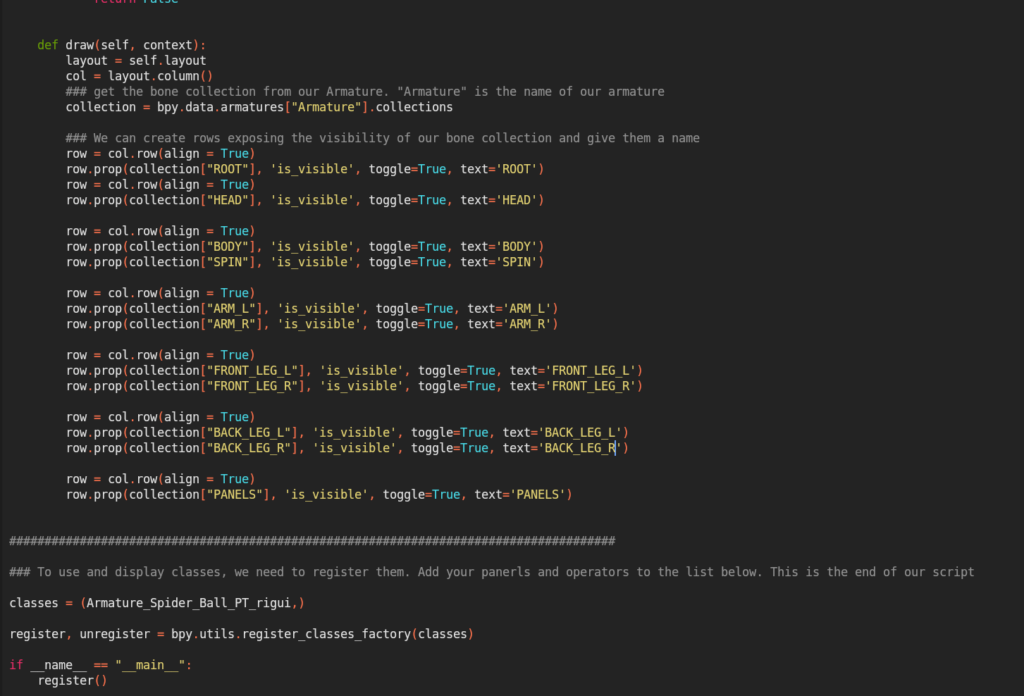
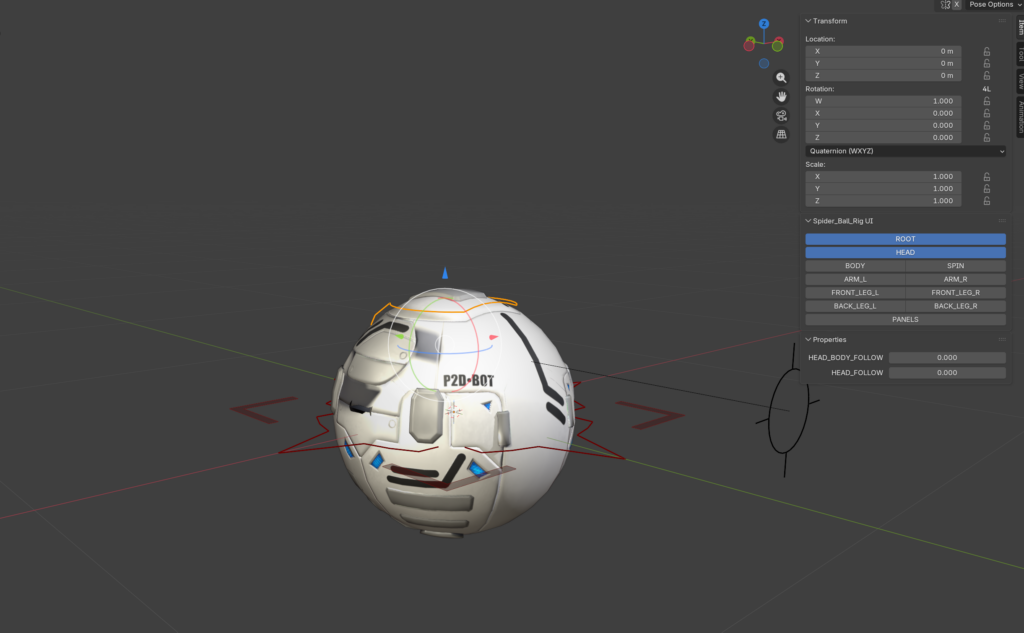
In the tutorial was only one step left. The rig got a UI with the help of python. A premade script was provided so it was easy to change for the needs of the individual rig. It essentially reads out the bone collections and their visibility of the armature. For that the armature needed to get a new custom property. The tutorial used a random string generator. A string is a combination of letters and numbers. This string was used as a rig id in the python script. With this it could find the right rig.

I have done some programming before which helps to not feel overwhelmed it. Despite me not having worked with python specifically, my creative coding lessons helped me to not feel lost. Even without the tutorial I could kind of understand what is happening. For the tutorial itself I only needed to change the names of the bone collection to what I had named them. One thing to remember for python is, that the rows and their structure is important. You can’t just indent a line. It will cause problems. By hitting text and then register the python script is now loading automatically with the blender file.

Conclusion

I am really happy with this rig. As far as I have tested it, everything works great. I appreciate how neat and structured everything is. Rigging can be a hassle and there is no need to cause yourself more problems by working half assed. I got reminded of this again, when a friend of mine had asked me to play doctor for her rig. It had at one point worked, but she could not move the IK arms anymore. I was so confused looking through the rig, trying to understand what was happening. Nothing was named correctly beginning with the whole armature which was called Leg1. I figured out, that she created the rig directly on the deformation bones. That alone caused tons of issues. Later I realized that she used rigify which apparently is known to create such issues. I found a weird bad work around for her rig and I created a video for her. It is not recommended to do what I did, but for fun I post it here as well.

Still now something was very off with her weight painting. Or has it always been off? I don’t know, but it reminded me of how little time I had during my bachelor’s for rigging. Creating a nice clean rig with enough time to struggle on some point wasn’t in the curriculum.  

So much for my rigging journeyso far. Meanwhile, enjoy my bot showing off his rig’s abilities.  😉

My rigging journey part 4 – We are balling

We continue with the arms. Like the legs, they also use an IK-system. It is a lot of repeating steps while rigging. Especially if you have four legs and two arms. For the arms the tutorial didn’t use a pole vector. With the way the arms are placed, there will not be a lot of popping, or it will not be visible. Again, a limit distance was used same as the legs. The only real difference to the legs was the creation of its custom shape. For the shape I created a plane and deleted the face with pressing X (only the face). I assigned the plane as the bones custom shape and aligned the plane in object mode with the placement of the bone. This way I can directly adjust the shape and can see it on the object. With the snap tool on I followed the form of the arm.
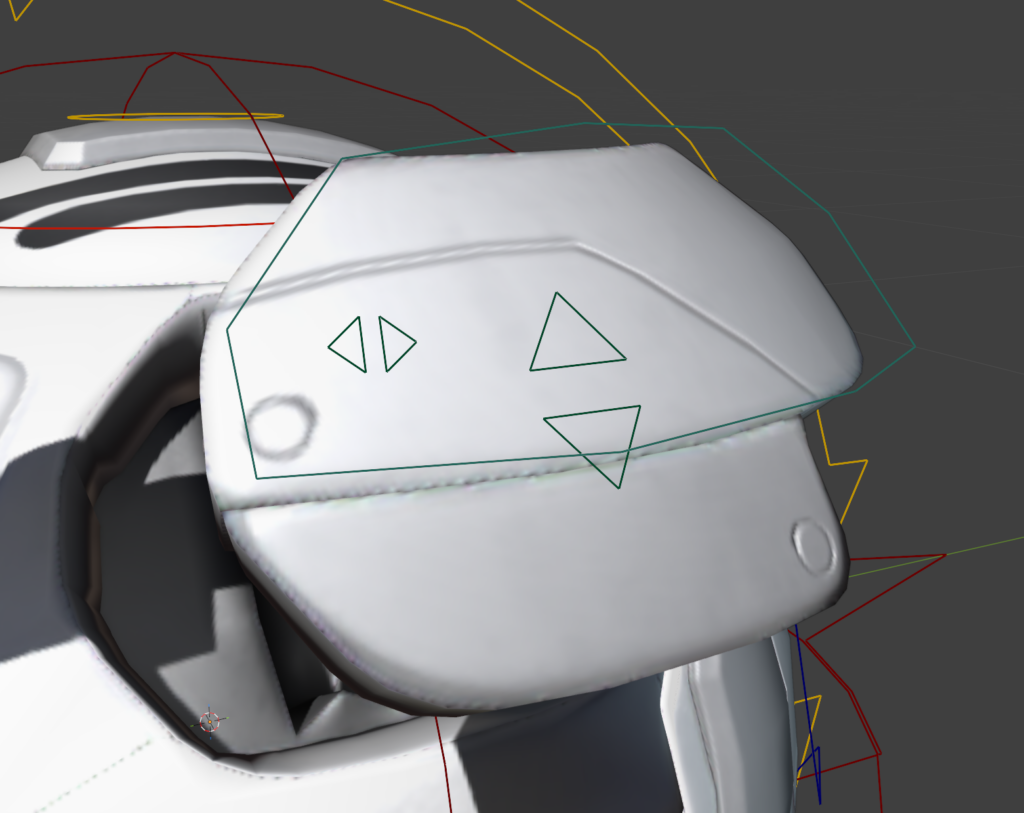
As for the gun and magazine both got a Limit Distance Constraint as well as custom shapes. The tutorial used arrows indicating the direction you can use. One rule for rigging is, if you don’t want an aspect to be animated later, lock it. For the gun and magazine everything was locked except one.

Since the arms where a repeat to the legs, the most complicated part this time was the head. The set up itself was easy enough, create a ne bone and put a Damped Track Constraint on it. The head will now follow this bone as if it is looking at it. However, since we want to be able to switch it off, it was time to spend some time on drivers. Drivers use small python operators and functions to create certain rules. For example, if I move a car, its wheels rotate. In this case the rotation is influenced by the x transformation. For our head we will create custom properties which will work like an on and off switch. To get back to the tutorial for the head I listened to a 50 minutes lecture about all of this.

Essentially, we want to be able to switch off the head following the body as well as the aim following the body. With this you can make the little robot roll like BB8 from Star Wars. We create to custom properties for each. To be able to switch between these modes, more mechanical bones with different copy transforms were created. The custom properties drive the influence of each copy transform. Last step again is to create custom shapes for the aim symbol, the head as well as adding a bone with stretch to to get the connecting line between head and aim point. It sounds so easy when I think back, but the execution took quite a while. Especially because somewhere in the tutorial was a mistake and I had to look through the comments to get the same result as he has later. Still, it works great now.

On the legs and the arms, we used a limit distance constraint, which works fine if you never plan on scaling the character. But what if? For that case some adjustments where made. One of the mechanical bones was used as a base. The head of the bone was snapped to the hand bone and then got the stretch to constraint as well as a limit scale. The scale is how far the arm can stretch out. Now the IK-arm bone gets the limit distance removed and gets instead a copy location. The copy location copies the stretched arm bone. In the constraint you can switch between the tail or head of the bone. We need the head for this. The legs have a slightly more complicated process (new bone etc.) but the principle is the same. The ball can now be scaled 😊

One little step is still missing. The Bolts or panels don’t have a rig yet, but since they should only be able to rotate in the y-aches they only got everything locked accept the y-aches. Also, they got custom shapes.

Another little fix for the legs was needed. At the beginning the stretch and squash was created. This causes with extreme poses some issues with the IK-legs and arms. The solution is a driver. We only want the IK active when the transforms are higher than a certain number. With this the stretching is fine again.

For the last step some clean up was needed. For example, the bone groups were split into left legs and right legs etc. Some unused values were also locked.

Blogpost Number 6 (Birgit): Final Prototype

What Has Changed Since the First Prototype

After creating the first prototype, I added more pages:

  • pages for song recommendations, including the title, artist, who recommended it, and why I love this song so much
  • a cover
  • interactive pages to fill out together

The interactive pages are meant for people to fill out togehter. They are placed in a horizontal layout so both persons can write at the same time. Person A fills out the spread about person B based on assumptions and person B does the same thing for person A. After that they can compare if what they thought was true. This allows them to get to know each other on a fun and playful base and start a follow up conversation about it if they want to engage with each other even more. This interface facilitates the interaction on several levels: Not only is the barrier to approaching a stranger very low, but the interaction also has a clear beginning and end, which makes it more manageable and predictable. In addition, in my experience, people are generally curious to know what others think of them, and they enjoy observing others and coming up with stories and assumptions about them. What could potentially have a negative impact on the experience are negative stereotypes and prejudices, which might be hurtful to some people. I believe it’s essential to emphasize respectful behavior in the instructions for the interactive pages.

I decided to expand the first prototype rather than redesign it completely because the core concept had already proven to be working. The initial prototype adressed one of the main challenges I had identified: lowering the barrier to approaching strangers on long-distance train journeys. Instead of starting from scratch, I wanted to build on this and explore how the experience could become more engaging.

Blogpost Number 5 (Birgit): Literature collection, topic overview and planning

Topic overview and open questions

In my previous blog posts, I’ve tried to explore the topic as broadly as possible and cover everything that came to mind regarding observation. Because the scope of the topic has become so broad, there are still a few open questions that I’d like to address over the summer. Here is a list of the questions and sub-topics that came up during my research but that I haven’t been able to answer yet, so I don’t lose them:

  • the psychological effects of constant observation
  • the concept of social presence
  • feeling observed vs. feeling seen
  • voyeurism and stalking
  • observation amongst women
  • the male gaze
  • the objectification of women and it’s consequnces in relation to being observed
  • digital observation and data collection
  • Big Brother (?), not sure yet
  • observation in regimes (e.g. DDR)
  • observation in modern literature (George Orwell: 1984, Dave Eggers: The Circle)
  • smart glasses and how they impact the feeling of being observed
  • regarding hidden cameras in public restrooms:
    • Who is responsible?
    • How can the installation of hidden cameras be prevented?
    • What role can design play?
    • Analyzing interactions on public toilets -> How can they be improved so women feel saver?
    • Can public spaces ever feel truly private?
    • Do hidden cameras create distrust for public spaces?
    • What does it mean if people cannot return the gaze of their observer?

Planning future research

My main goal is to do more research on the topics listed above to find out what aspect of observation interests me most. I think that, by focusing on observation as a form of passive interaction and on hidden cameras, I’ve already identified two key areas that interest me a lot and that I’d like to explore further. Still, it would certainly be helpful to gain a general overview of the entire subject area.

In october / november I want to narrow the topic down to a specific research question that I can then focus on.

Literature collection

To get a head start on my research for the summer, I’ve already begun collecting relevant literature. I used ChatGPT to generate a list of keywords, which I then used to search the OPAC of the Augsburg University Library. I’ll also need to order some of the books through the Bavaria-wide interlibrary loan service. Since I’ll be spending most of the summer break at my parents’ house, this was the most logical choice for me, as it’s only 40 km from there to Augsburg, giving me easier access to the literature on site. Nevertheless, I also found a few books at the library in Graz that I’m sure I’ll be able to get my hands on as well. Here is a list of the works I was able to find during my initial search:

  • Spiekermann, Sarah (2016). Ethical IT innovation: a value-based system design approach. CRC Press, Taylor & Francis Group.
  • Klar, Manuel (2012). Datenschutzrecht und die Visualisierung des öffentlichen Raums. LIT.
  • Öztürk, Fatih (2022). Self and subjectivity in the twentieth century dystopian fiction. Cambridge Scholars Publishing.
  • Hijmans, Hielke (2016). The European Union as guardian of internet privacy. Springer
  • Kumpf, Benjamin (2017). Smart Cars – eine datenschutzrechtliche Analyse. Verlag Dr. Kovač
  • Richter, Volker (2009). Beobachtet und bewertet werden. LIT
  • Carah, Nicholas (2021). Media & society: power, platforms, & participation. SAGE
  • Klamt, Martin (2007). Verortete Normen: öffentliche Räume, Normen, Kontrolle und Verhalten. VS Verl. Für Sozialwiss.
  • Lefkeli, Deniz (2026). The Corporate Gaze: The Impact of Data Collection on Consumer Behaviour. Palgrave Macmillan
  • Schmitt, Martin (2026). Internet im Kalten Krieg: Eine Vorgeschichte des globalen Kommunikationsnetzes. transcript
  • Goffman, Erving (2009). Interaktion im öffentlichen Raum. Campus Verlag
  • Goffman, Erving (2014). Verhalten in sozialen Situationen: Strukturen und Regeln der Interaktion im öffentlichen Raum. Birkhäuser
  • Hahl, Olaf (1986). Alltagskommunikation im öffentlichen Raum: verbale Begegnungen zwischen Fremden. [Dissertation, Freie Universität Berlin West]

I’ve highlighted the most important sources in bold; the others may only be relevant in a marginal way.

#6 Final considerations

Carrying out this small project was actually quite challenging, yet it really helped me find an excellent practical application to build on for my actual thesis, which had previously remained purely theoretical. I really enjoyed being able to work on something entirely my own and putting myself to the test with time management and all the stages of the design process. Although I could still improve when it comes to time management!

As for the prototype itself, I was able to have it tested once it was complete. In fact, even though I missed the last lecture, I didn’t want to skip the user testing phase. This was carried out with the help of design students, and the improvements outlined below are ones I’ll be working on over the coming months.

The usability could certainly be improved in several respects, but what everyone agreed on was that the same button to take the survey appears too many times on the home page, given the limited space available. It almost seems as though it is insistently pushing users towards the same action. The need for more information about the research in the pre-survey section was also raised, as users do not necessarily visit the ‘About’ section and the information is not clear in that section.
Another small comment was in regards to the survey for not being fully developed, drafting also the third question would have been useful to fully comprehend the user flow and overall effort required.

In general, however, based on the feedback gathered, it can be said that the project’s communication objectives were achieved and that the opportunity to access this kind of data was a well-received idea. The biggest challenge for this type of data collection in the future would certainly be to reach enough people and find ways to keep the responses as unambiguous as possible.

Presenting Constellation Collector

Design&Research 2 with Birgit Bachler

After testing my minigame, I created another version of it with the following improvements

  • There is a short introduction about light pollution
  • Before starting the game, there is a disclaimer that explains that the game should be played at night
  • It is explicitly mentioned that Ursa Major is a constellation and that the user is supposed to look for it in the sky
  • Since my app does not feature the VR vision of the sky yet, the use of the app Stellarium is recommended to localise the constellation (so the first screen where users tried to tap on the stars is removed)
  • I added padding to the stars so that it is easier to select them
  • Before sending a report, users are asked if they want to submit their data (so no surprises)
  • There is an explanation of what was reported
  • All exit and back buttons are working

Here you can see the most important screens:

This is only a small gamified feature and I am excited to try out more to make citizen science more engaging.

Interviewing my colleague

Design&Research 2 with Ursula Lagger

I interviewed one of my colleagues about gamified apps and their feelings about it. I wanted to share the interview and my thoughts because I reckon that it is relevant to my topic.

Notes 

Transcript

Thank you for letting me interview you. 

What is this about?

It’s about apps, engagement and gamification. Please tell me about an app you have on your phone that uses gamification and has you super engaged.

Let me check. What do I have? I mean, totally Duolingo, like the best example ever and also the features that we were doing for our financial app (App Design course) that was also for engagement and I think you can do any app engaging and funny but honestly like it shouldn’t be a good example. 

It’s fine if you tell me about Duolingo. 

I think for instance sometimes I use AliExpress and they use this like “oh you want this?” or “try to use this” with coins or something, that always pisses me off when when I open the app and I see like “oh, you want €10? Let’s buy something” or something like this. I never check and it just an example but honestly, I don’t really have any. Like, it is not working. 

Is Duolingo working for you? 

Yes, I don’t really use it because I think it does not really complete the goal of learning a language. It’s not for this sense of like learning something, you get it? But you don’t really learn so they give me vacation and that helps I guess.

What do you think about Duolingo‘s engagement strategy with the notifications and the passive aggressiveness?

I mean, this is probably why I’m not using it because I’m too tired of this and like I think generally just learning the language in this way it’s not helping. I was always quitting the Duolingo, but I know people who are on it every day and they see these notifications, they set it up. They put a big widget on their menu so they see the streak and like the announcement. I don’t know. I think not inappropriate for that or maybe they’re just bad levels. I think that it could be better too, so you actually go to a level and don’t see a random sentence. 

Let’s switch this up a little bit. Do you know what citizen science is? 

Citizen science… a person who lives in certain place and I don’t even know what? Maybe it’s some like studies that are local and like you can actually study the community somehow. 

I’m gonna explain what it is. So citizen science is a project where normal people just like you, citizens, they can participate in science and become a scientist and they can for example report a plant species they see on their hike and submit it to this application and this data gets forwarded to scientists who can track where this plant is spreading but it can be done with many different things. It usually involves reporting because there’s a lot more citizens than scientists, so it makes sense that the population also helps with science. 

Have you ever been a citizen scientist? 

I don’t think I have ever had the opportunity.

It’s usually also done on applications, for example I have one. It’s called iNaturalist, where you take photos of plants and animals and identify them and it sends the data. 

Why do you say it’s like you’re becoming a scientist? 

Not an actual scientist, but contributing to science. You’re just sending data. You take a picture of a mushroom and then you see it on a map. 

I didn’t know that, because I also have a mushroom app but I didn’t know that picture is actually being sent, like I don’t remember. 

It depends on the app like some projects are just to help you identify the species, other are sending data and are citizen science projects. 

What would make you use a citizen science app regularly? 

I’ll describe it to you: something free, not using this kind of effect and then in two weeks you need to pay for it, to get use certain properties you should have a subscription. Or make a one time payment so you would be contributing some money and then you have it for you. What else? What in the app would keep you engaged to use it regularly? 

Maybe you can think of some communication features. Other features that you like in apps that make you use them regularly is make some profit that I can get from it. I don’t know. I honestly don’t really get this concept very well. Is there any other example? Except recognising plants? 

For example, there is another project that you use during the night and you report the light pollution, so you say “I can’t see any stars in the sky tonight” although there are no clouds, you send it and then they know that in that area there’s a lot of light pollution going on. 

for example something else except It’s possible to put it should be more limited locally. I think maybe it should be about climate pollution, about the air quality or plants like vegetation, or water quality.

Alright, thank you!

Postscript

I forgot to make an introduction about the topic, but the questions slowly lead into it. I tried to actively listen and find some key concepts in my interviewee’s answers, while also improvising some questions (follow-up questions) based on their answers. Next time I would try to explain less and learn more from my interviewee.

Summary 

To make my citizen science platform more engaging, I want to research how people perceive gamification and if it affects their usage of an app. I first asked questions about gamified apps the interviewee has used. Then I shifted to citizen science, in order to find out how I could make a reporting app more engaging.

Reflection

The interview made me realise that a concept I am already familiar with due to my research might not be so clear for other people, so it is important to always briefly explain key concepts. I also think that some questions caused confusion or were not answered, so I could have formulated them differently or broken them down into easier concepts. For instance, instead of saying “ tell me about an app that uses gamification and has you engaged” I could have said “how do you feel about streaks?” or “What emotions do you feel when using Duolingo?”. 

The last answer was the one that gave me the most important information. The interviewee mentioned that they like when they get something from an app, like information about mushrooms. In my app I definitely need to add some educational content so users can learn about the stars. The interviewee also likes it when an app is free without any locked features, which is also important to me. They finally said that they appreciate it when something feels “local”. In my case, this could be tips on where to stargaze in your area, tasks to go explore a certain area that needs more reports and the option to read reports that were submitted close to you.