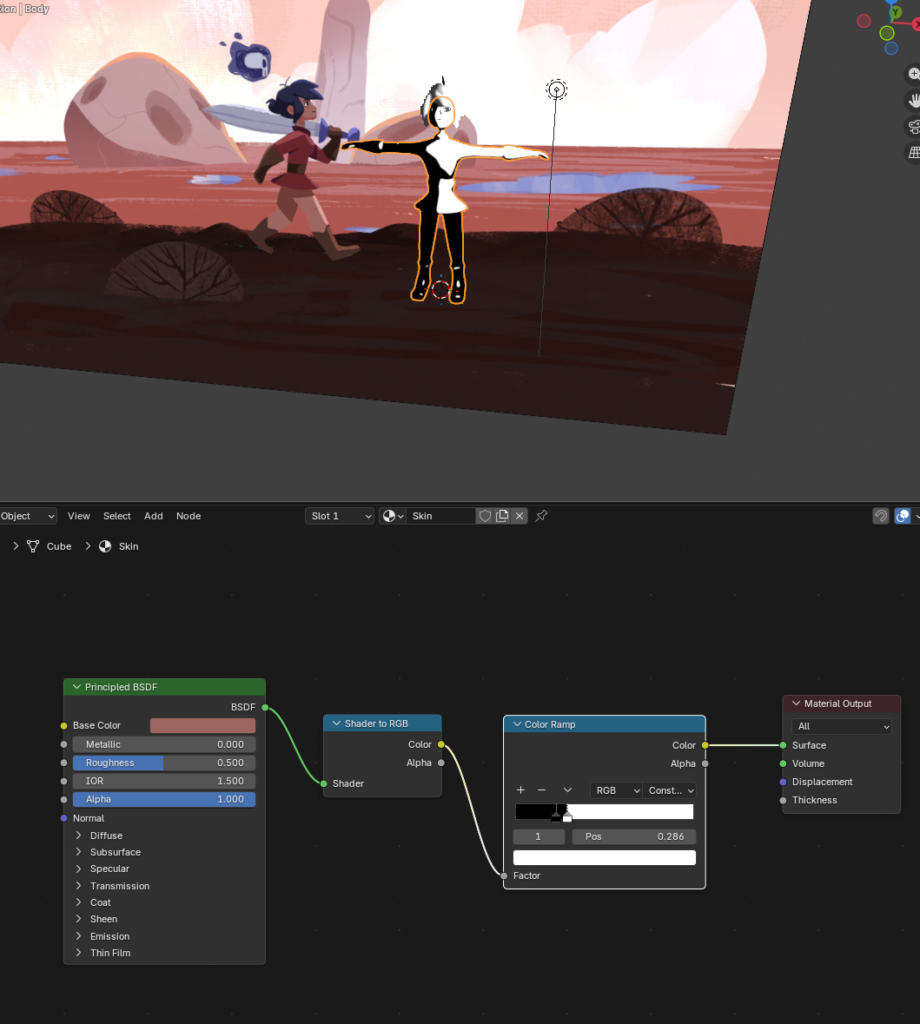
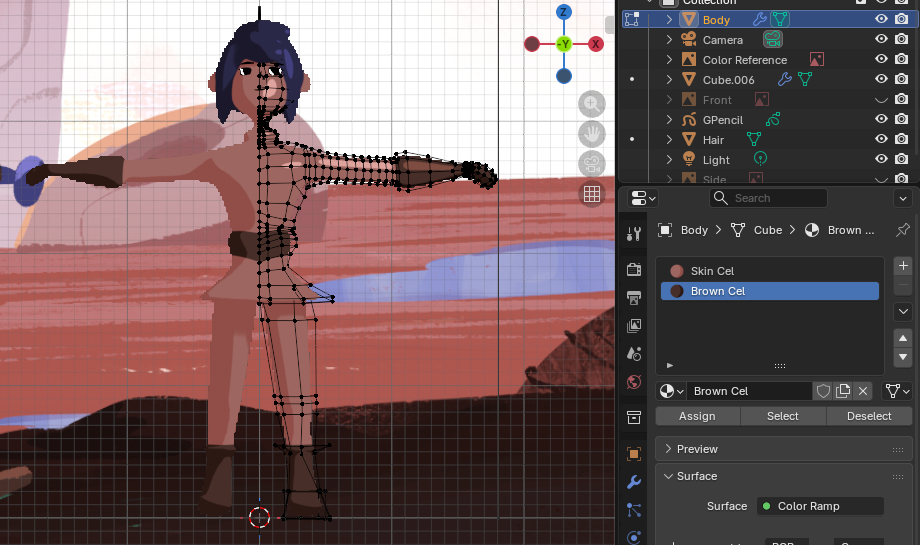
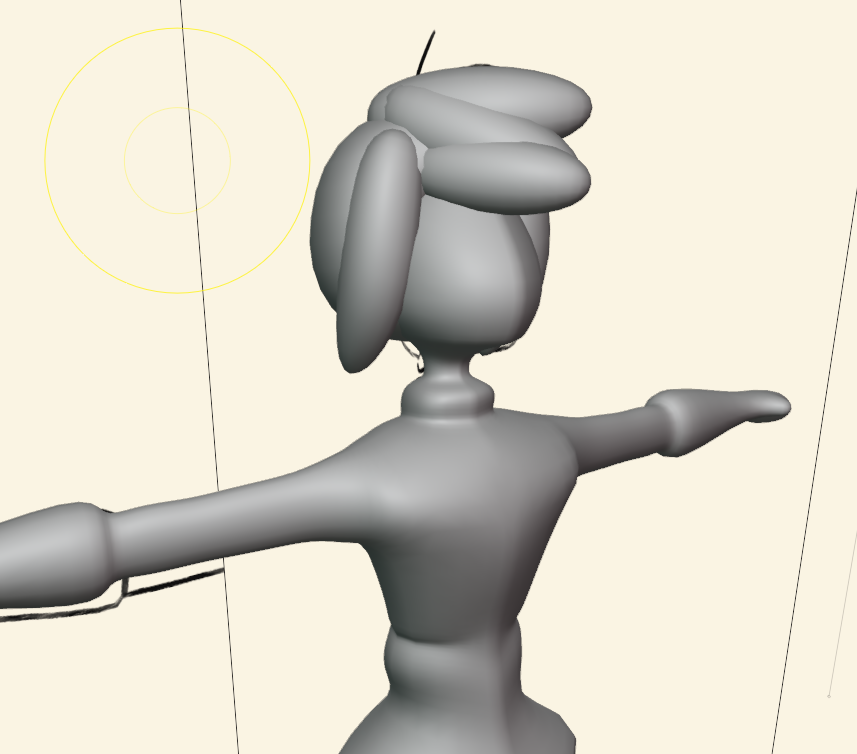
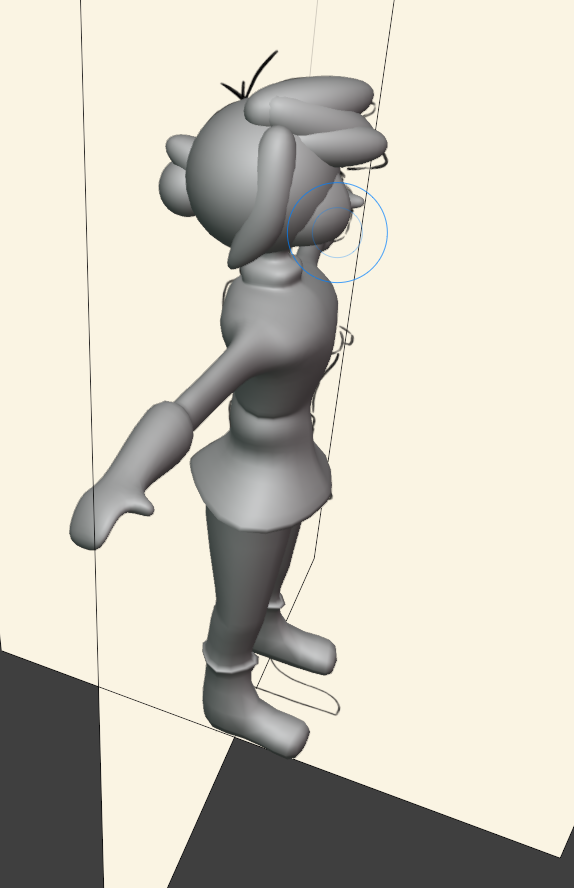
Learning Something New – Why I’m Jumping into 3D Character Animation

Fair warning: this post is a bit of a confession. Because finding a skill that actually made sense for me to learn this semester was harder than I expected, and the path I took to land on the one I eventually chose was not exactly a straight line.

Let me explain.

The brief was to learn a new practical skill over the course of the semester and document the process. Which sounds straightforward enough, until you actually sit down and try to figure out what that skill should be, and suddenly every option feels either too random or too disconnected from anything you’re already working on. I really wanted it to tie back to my research topic somehow because if I’m going to spend a significant chunk of time learning something, it might as well be useful beyond just checking a box.

The AI Detour (And Why I Dropped It)

My first thought was to look into AI tools – specifically generative AI techniques for character creation. It would’ve been topically relevant, there’s no shortage of tutorials, and the output would’ve been visually interesting. And I spent maybe two or three hours going down that road before I realized I genuinely just didn’t want to do it.

I’ll be honest: I’m not a fan of AI-generated imagery in general. That’s a whole separate conversation I probably owe a blog post at some point, but the short version is that it didn’t feel like learning something so much as learning how to prompt something else into doing the work. Which just wasn’t what I was looking for here. So I dropped it and went back to my original idea.

The Actual Plan: Blender

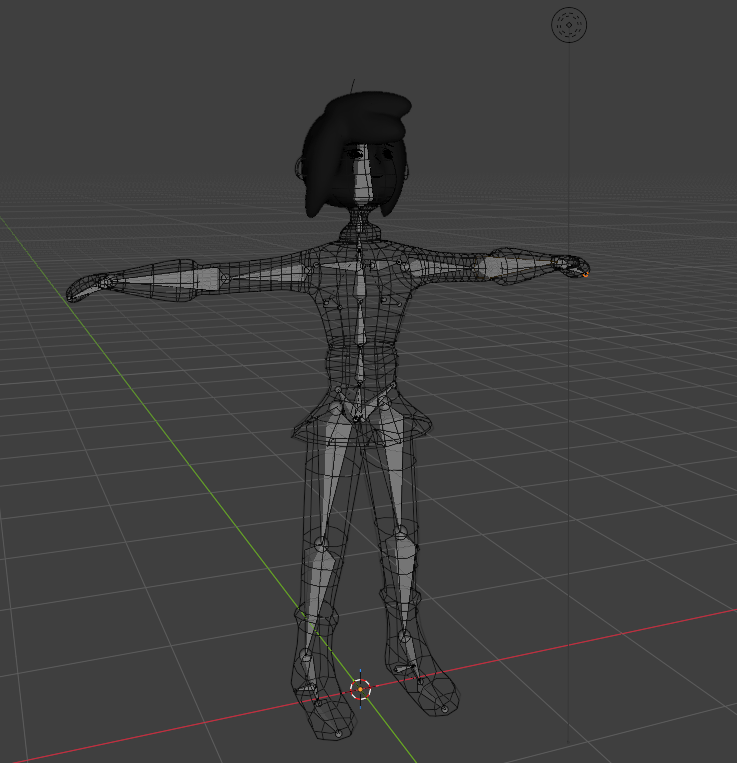
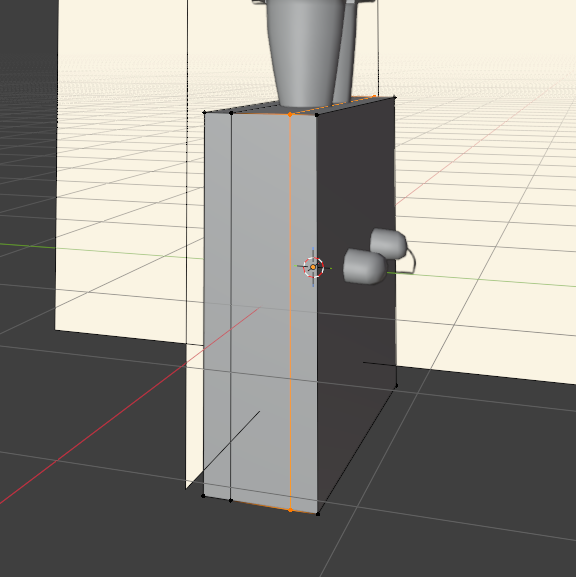
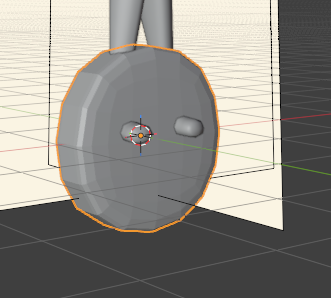
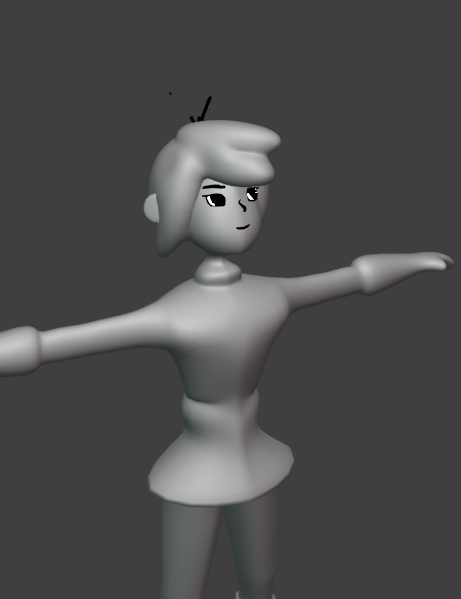
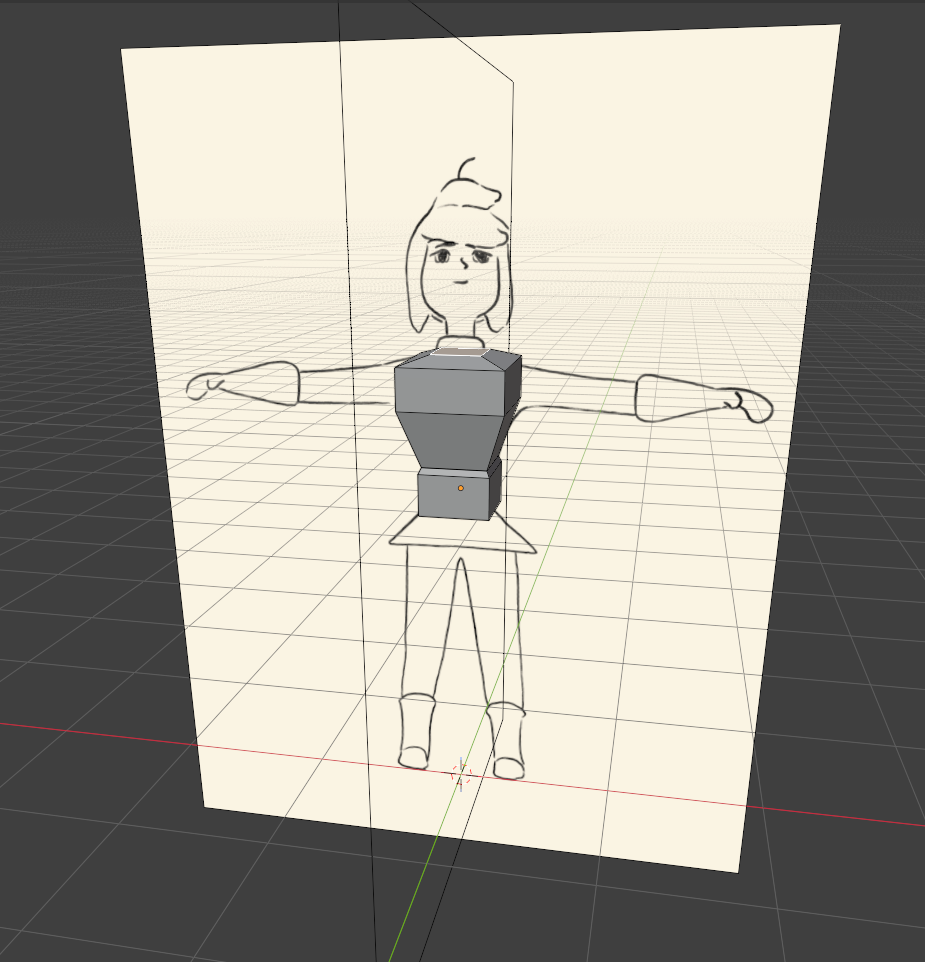
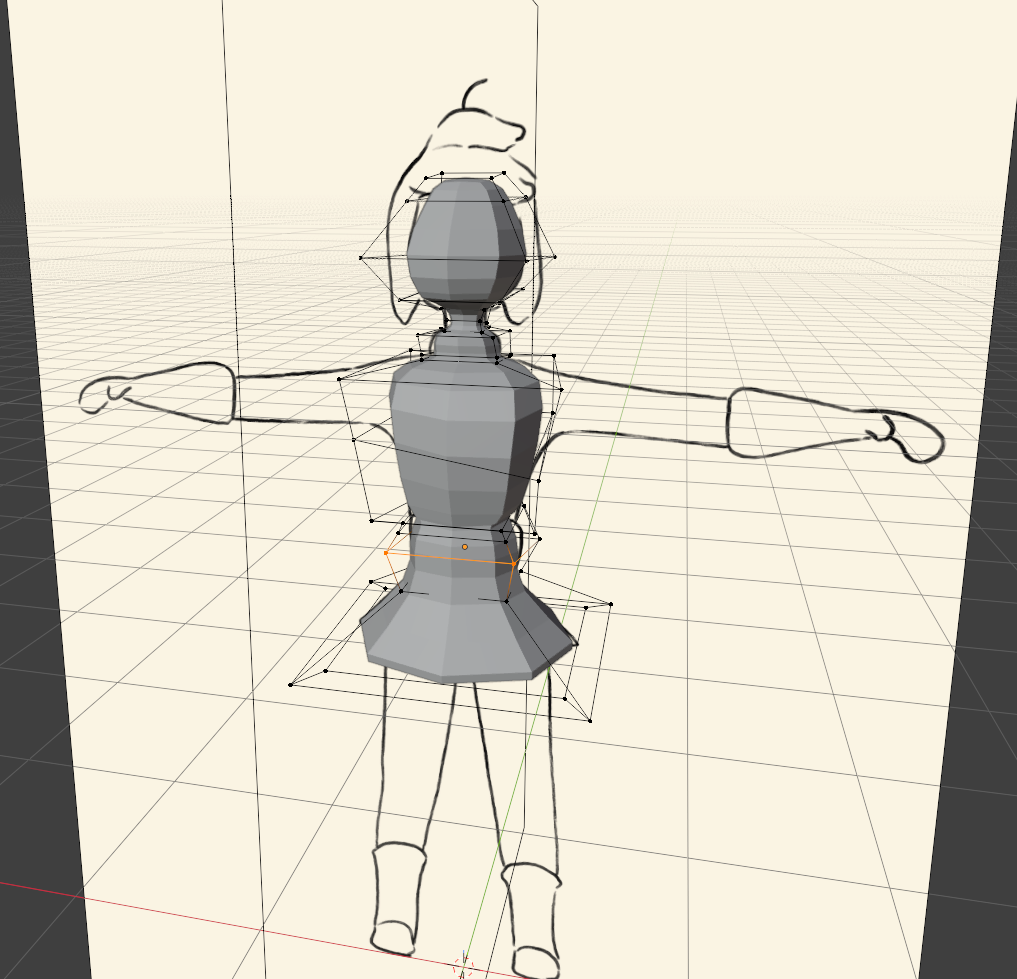
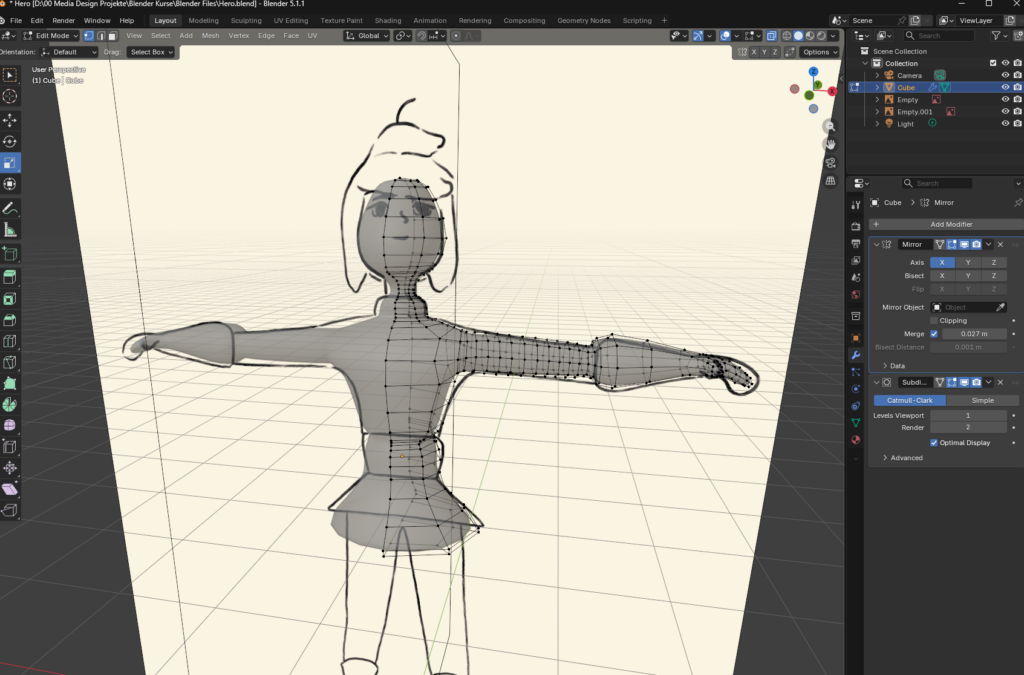
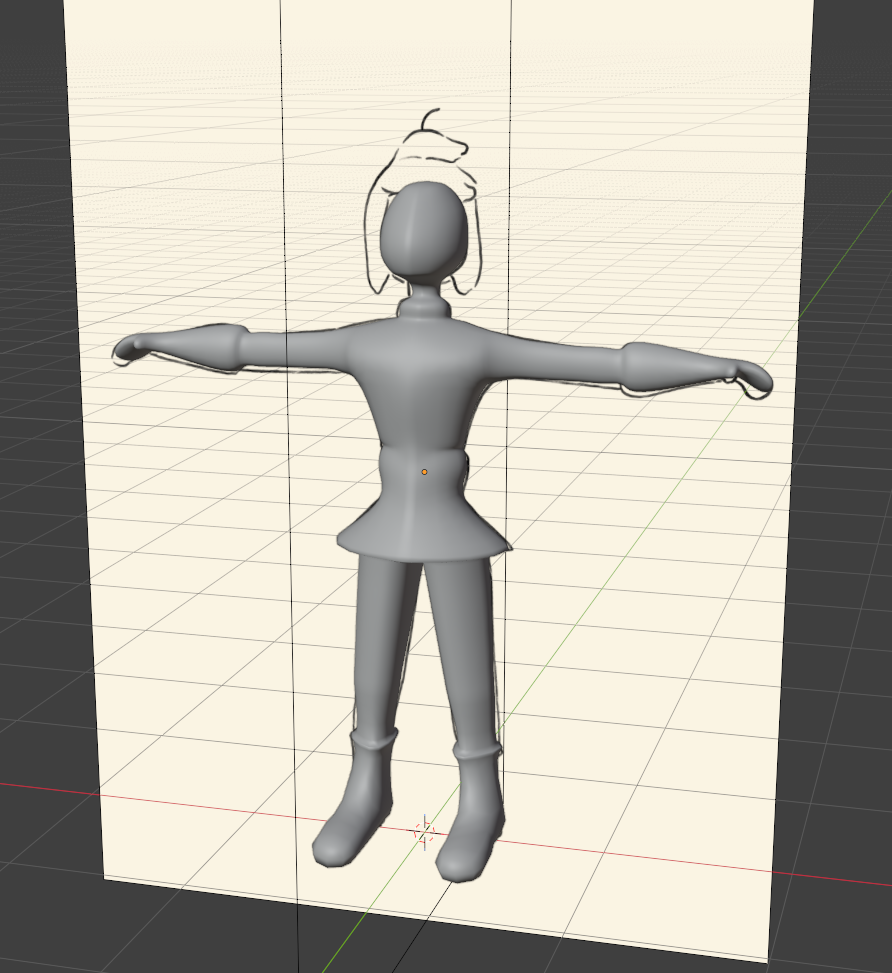
The original idea was 3D character animation in Blender – specifically learning enough to model, rig, and animate a character from scratch, or close to it.

Here’s the logic: my framework is essentially designed to identify patterns across sympathetic antagonists. What traits do they have in common? What does a character look like – in terms of personality profile, visual presence, symbolic meaning – when it scores high on all the right dimensions? At some point, the obvious next step is to try and create a character that fits that profile. Not just describe what such a character would look like theoretically, but actually build one.

My first instinct was to do this with live action. Find an actor, write a brief, have them portray the character I had in mind. But the more I thought about it, the more that approach fell apart. Getting the right performance out of someone is genuinely difficult. You’d be dependent on another person’s interpretation, their availability, their range. And the gap between what I imagined and what ended up on screen could easily be enormous. That felt like a variable I didn’t want in the equation.

3D sidesteps most of that. Every choice is mine. The character looks exactly as designed, moves exactly as animated, expresses exactly what I intend. It’s a more direct translation from concept to output.

There’s also a personal reason. In all the time I’ve spent learning about video, film, and motion design, 3D is the one area I’ve basically never touched. I’ve always worked with real-life footage and After Effects, and somehow 3D just never made it into the picture. This felt like the right moment to fix that.

Why Patata School

The platform I’m using is Patata School, which is run by Cabeza Patata – a Barcelona-based creative studio known for their distinctive 2D/3D hybrid aesthetic. The thing that sets their teaching apart is the approach: they call it podcast-style, meaning you’re not memorizing menus and keyboard shortcuts from the start. You’re creating something in the first few hours and learning the tools through the process of actually using them. For someone like me who learns much better by doing than by studying, that’s exactly the right format.

Their course library covers modelling, rigging, facial animation, Grease Pencil work, and a lot more. I found several courses that looked genuinely exciting – especially the ones that mix 2D aesthetics with 3D construction, which aligns well with the kind of stylized, expressive character I have in mind.

What I’m Actually Aiming For

Realistically? I want to end up with a short animation – around ten seconds, nothing cinematic – featuring a custom character with facial animation and voice acting (yes, I’m doing the voice myself, we’ll see how that goes).

Is that optimistic? Absolutely. But I’d rather aim for something concrete and land somewhere slightly short of it than aim for nothing and have nothing to show at the end. The posts going forward will track the actual progress: what I tried, what broke, what somehow worked, and how far I got by the end.

In the worst case I still learned Blender. That’s not a bad outcome.

See ya!

Back to It – A Quick Look at Where My Research Stands (And What I’d Actually Change)

It’s been a really long time since I last wrote one of these posts. Honestly, I barely did any further research on my topic during the break, and I’m not going to pretend otherwise. But the time off wasn’t entirely wasted. In the context of Design & Research 2, I had to do a more structured reflection on the work I’ve already done – and that turned out to be surprisingly useful. Not because it revealed anything radically new, but because it gave me some distance. And distance, it turns out, is exactly what you need to notice the things that have been quietly bothering you for a while.

So before I move on to my plan for learning a new skill this semester, I want to take one more look at where my research actually stands – what I built, what I think works, and what I’d do differently if I were starting today.

What I’ve Built So Far

For anyone who hasn’t read the previous posts: I’ve been working on a systematic framework for analyzing fictional antagonists and antiheroes. The goal is to create a method that’s fast enough to scale across large numbers of characters and rigorous enough to produce results you can actually compare statistically.

The framework has four layers:

Observable Traits – the character as an artefact. Drawing from the ACIS framework by Linke and Prommer, this layer looks at what you can directly see and hear on screen: screentime, spoken dialogue, visual identity, movement, and physical presence. No outside context, no assumptions – only what the viewer actually experiences.

Personality Profile – the character as a represented being. This is the Big Five layer. I developed a custom 20-item coding sheet (4 items per trait, rated on a 1–7 scale) that lets me score any character on Extraversion, Agreeableness, Conscientiousness, Neuroticism, and Openness – purely from on-screen behavior. To make it trustworthy, I also built in a coder agreement check: two people code the same character independently, and we measure how closely their scores correlate. Anything above 0.70 is considered acceptable.

Symbolism & Motivation – what the character represents beyond their actions. A looser, more qualitative layer that captures the central symbol, lead motif, and thematic meaning the character carries. Harder to quantify, but important for explaining why a character resonates, not just how they behave.

Creation & Cultural Context – when and by who the character was made. Demographics of creators and directors, year of release, cultural background. This layer contextualizes everything else and helps explain effects like nostalgia or the influence of the specific era a character was born in.

The theoretical backbone behind all of this is Jens Eder’s Character Clock – though I consciously dropped the Symptom dimension to keep the analysis scalable. Covering all four of Eder’s dimensions in depth per character would take forever. I’d rather analyze 100 characters at a useful level of depth than analyze 5 at an impractical one.

What I’d Actually Change

Here’s the thing that’s been nagging at me since the reflection exercise: the scope is too narrow.

My entire research focus up to this point has been on villains – or more specifically, sympathetic villains. And when I actually look at what my framework does, I realize that framing never made much sense as a hard boundary. The coding sheet doesn’t know whether it’s rating a villain or an antihero. The ACIS-based observable traits layer doesn’t care. The Big Five certainly doesn’t. These tools work on any fictional character.

Restricting the framework to villains feels kind of arbitrary at this point. More than that: it actually limits the analytical value of the whole thing. One of the main goals was always to find out what makes a sympathetic villain different from a clear-cut hero or a straightforward one-dimensional antagonist. But if I only ever analyze the villains, I have nothing to compare them against. That’s a pretty obvious problem.

What I think makes more sense going forward is to broaden the scope to fictional antagonists and morally complex characters in general and then use the framework to actually compare them across the full spectrum. Heroes, antiheroes, villain protagonists, secondary antagonists, the whole range. The patterns only become interesting when you can see the contrast.

There’s also something I want to tighten up on the qualitative side. The Symbolism & Motivation layer is the weakest link in terms of consistency. Right now it’s mostly free-form notation, which makes it almost impossible to compare across characters in any structured way. I haven’t figured out the right solution yet – whether it should be a fixed set of categories, a tagging system, something else entirely – but it’s the one part of the framework that still feels unfinished.

And finally: the coder agreement is still untested in practice. I have the method, I know the threshold, but I haven’t actually run the test with a second coder on a real sample. That’s the most important thing to validate before I start building any kind of database seriously.

So that’s where things stand. A solid structure that needs a wider lens, a qualitative layer that needs more rigidity, and one empirical test that still needs to happen.

Next up: what I’m planning to learn this semester, why I chose it, and – more interestingly – what it actually has to do with all of this.

See ya!

#10 Reflektion über Character Animation – Was habe ich gelernt?

Am Anfang des Semesters war ich wirklich motiviert einen kleinen Animationsfilm mit neu angelernten Programmen und Tools zu gestalten. Dann kam jedoch bald die bittere Erkenntnis: Sich in ein gänzlich neues Programm bzw. Tool knapp am Ende des Semesters einzulernen und dann auch noch ein Kurzvideo zu animieren war echt nicht möglich.

Ich habe umdisponiert und mir einmal Zeit dafür gegeben, die Programme kennenzulernen, ohne gleich irgendetwas halbfertiges darin zu animieren.

Ich war auch sehr zufrieden mit der Auswahl der beiden Programme, in die ich reingeschnuppert habe. Ich war überrascht, wie unterschiedlich Duik Angela und Character Animator sind. Während des Schreibens der Blogposts fragte ich mehrere Studienkolleg:innen, ob ihnen denn der Character Animator überhaupt bekannt sei, eigentlich alle verneinten. Nun, der Character Animator ist auch recht speziell und eingeschränkt in seinen Funktionen, für mich trotzdem ein absoluter Underdog. Ich werde mit auf jeden Fall weiter in das Programm reinfuchsen, denn ich möchte wissen, was für Videos man erstellen kann, wenn man sich viel Zeit lässt – sowohl in der Vorbereitung des Charakters, als auch in der Nachbearbeitung der Animation.

Da ich ein großer Fan von Erklärvideos bin und darüber vielleicht in meiner Masterarbeit schreiben will, bin ich nun sehr daran interessiert den Character Animator auf Herz und Nieren zu testen.

Auch Duik Angela hat mich positiv überrascht. Womöglich auch deswegen, da mich eine kurze Internetrecherche schon auf seine Komplexität vorbereitet hatte. Auch wenn ich noch nicht so viel Zeit reingesteckt habe, konnte ich die unzähligen Möglichkeiten des Tools sehen. Es eignet sich exzellent zur Aufbereitung eines Character-Rigs und passt sich gut in das After Effects Umfeld ein. Auch dass Duik Angela gratis zum Download steht ist ein großer Pluspunkt.

Auch hier möchte ich noch viel mehr herumprobieren, denn auch mit Duik Angela scheint man Charaktere für Erklärvideos aufbereiten zu können.

Es ist für mich noch herauszufinden inwieweit man die beiden Programmen kombinieren könnte. Die automatische Sprach-Funktion vom Character Animator plus die Einstellungsmöglichkeiten von Duik Angela würden in Kombination die Charakteranimation auf ein neues Level heben.

#9 Chrissis Weg zur Character Animation – Character Animator vs. Duik Àngela

Nachdem ich nun zwei ziemlich verschiedene Programme ausgiebig auf Herz und Nieren geprüft habe (nunja, ich habe mal ne kurze Schnupperstunde mit beiden Programmen gehabt) -, wird es zeit für mein Feedback und eine Gegenüberstellung der beiden Programme.

Im Endeffekt wollen beide Tools dasselbe: Figuren zum Leben erwecken. Aber die Wege dorthin, sowie das Outcome sind sehr unterschiedlich. Der Character Animator ist sehr automatisiert, hier muss man wirklich kein Verständnis für Animation haben, um schnell zu einem Ergebnis zu kommen. Daneben ist Duik Angela teilweise auch automatisiert, teilweise muss man jede winzige Kleinigkeit selbst einstellen.

Adobe Character Animator

Irgendwo im Internet, ich weiß nicht mehr wo, habe ich ein Zitat über den Character Animator gefunden, das bei mir hängen geblieben ist. Es lautete in etwa so: „Der Character Animator ist die Instant-Suppe unter den Animationsprogrammen“.

Man wirft eine gut strukturierte Illustrator-Datei hinein, schaltet die Webcam an, und boom: Der Charakter bewegt sich synchron zum eigenen Gesicht.

Was mir richtig gut gefallen hat:

  • Lippensynchronisation (Lip-Sync): Dass das Programm meine Sprache analysiert und vollautomatisch die passenden Mundformen einsetzt, ist wirklich zeitsparend und praktisch.
  • Live-Performance: Die Möglichkeit, Animationen in Echtzeit über die Webcam oder das Mikrofon einzuspielen, macht wirklich viel Spaß. Es fühlt sich intuitiv an. Ohne viel Vorwissen über das Programm kann man gleich losstarten.
  • Der schnelle Erfolg: Man sieht sofort Ergebnisse. Für Content Creator, die wöchentlich Videos raushauen müssen, ist das Tool unglaublich effizient. Auch für Leute, die Erklärvideos gestalten, ist das Programm äußerst hilfreich.

Was mir nicht gefallen hat:

  • Die kreative Sandbox fehlt: Sobald man die Vorgaben von Adobe verlässt, wird es frustrierend. Man ist extrem an die vorgegebenen “Tags” gebunden. Ich bin bei meinem ersten Herumprobieren noch bei weitem nicht an die Grenzen des Programmen gekommen, kann mir jedoch vorstellen, dass sich manche Personen durch die doch limitierten Optionen eingeengt fühlen.
  • Physik-Einschränkungen: Komplexe, physikalisch korrekte Interaktionen – wie eine Katze, die sich um einen Pfosten schmiegt – sind fast unmöglich. Alles wirkt am Ende ein bisschen wie “Puppentheater”.

Im Endeffekt ist der Adobe Character Animator ein super Tool, um schnell Charaktere zum Leben zu erwecken. Für komplexe Animationen und Szenen ist er jedoch nicht geeignet. Ich denke, das Wort „Puppentheater“ trifft es eh gut.

Duik Angela

Duik Angela ist kein eigenständiges Programm, sondern ein kostenloses After Effects-Plugin, das dir die volle Kontrolle über hochentwickeltes Rigging gibt. Hier wird noch klassisch mit Keyframes und Knochenstrukturen gearbeitet.

Was mir richtig gut gefallen hat:

  • Das automatische Rigging: Wenn die Controller bzw. die Knochenstrukturen mal richtig sitzen, geht das Rigging mit nur einem Knopfdruck. Sofort kann man dann den Charakter an den Controllern bewegen.
  • Die absolute Kontrolle: Man kann jede Bewegung, jede Dehnung und jede Drehung bis ins kleinste Detail im feintunen.
  • Die OCO Meta-rigs: Vorgefertigte Skelette für Tiere und Menschen als Schablone nutzen zu können, macht die Illustrator-Vorbereitungen soo viel einfacher.
  • Die automatischen Walking-Cycles: Das lass ich hier einfach mal so stehen…

Was mir absolut nicht gefallen hat:

  • Die Fehler-Unverzeihlichkeit: Da ich beim Aufbereiten des Charakters einem YouTube Tutorial gefolgt bin, hatte ich keine großen Probleme, sah jedoch die Schwachstellen gut: Man muss in der Aufbereitung der Bones wirklich penibel sein.
  • Die UI-Überforderung: Das Panel hat gefühlt Trillionen Knöpfe und Skripte. Wer After Effects nicht schon wie seine Westentasche kennt (hier, ich), kommt sich erst mal blöd vor. Pro-Tipp: Installiert euch Duik in Englisch. Nicht in irgendeiner ominösen Sprache, die ihr nicht versteht.

Im Endeffekt würde ich den Adobe Character Animator und Duik Angela für verschiedene Projekte verwenden. Der Character Animator funktioniert gut bei sehr dialoglastigen Videos. Typische Erklärvideos, Social-Media Cartoons, Vlogging-Avatare usw. Wenn der Charakter eh nur statisch herumstehen und ab und an die Hand heben soll, spart der Character Animator viiiiel Arbeit.

Duik Angela ist für dynamischere Projekte, anspruchsvollere Videos, organische Walking-Cycles und auch nicht-menschliche Charaktere gut verwendbar. Soll sich der Charakter im Raum bewegen und dabei physikalisch glaubwürdig aussehen, ist Duik Angela das Programm deiner Wahl.

#8 Chrissis Weg zur Character Animation – Step 5: Das Tool aller Tools – Duik Ángela

Nachdem ich nun den Character Animator für meine letzten Blogposts ausprobiert habe, möchte ich mich noch Duik Angela widmen. Die Zeit wird nicht mehr für eine ganze Charakter-Animation reichen, jedoch möchte ich das Programm ein wenig kennenlernen und herausfinden, was darin so alles machbar ist.

Zuallererst hier ein Link für die Installation von Duik Angela (auf Windows): https://www.youtube.com/watch?v=ALn6lOKFsBc

Ein weiteres Video, das ich sehr empfehle ist jenes:

Es ist fast eine Stunde lang, ja ich weiß, das ist viel – aber behold – in der Video Description ist ein Link zu den beiden im Video animierten Charakteren, damit man während des Schauens gleich mitmachen kann. Fand ich sehr hilfreich. Die Illustrator Dateien der Charaktere sind ebenfalls zum Downloaden und ich würde empfehlen da unbedingt reinzuschauen. Die Gelenke der Charaktere sind kreisförmig gebaut, was nachher im Animationsprozess helfen wird. Generell finde ich die Charaktere exzellent und übersichtlich gebaut – bei der zukünftigen Erstellung eines eigenen Charakter via Illustrator werde ich mir viel abschauen.

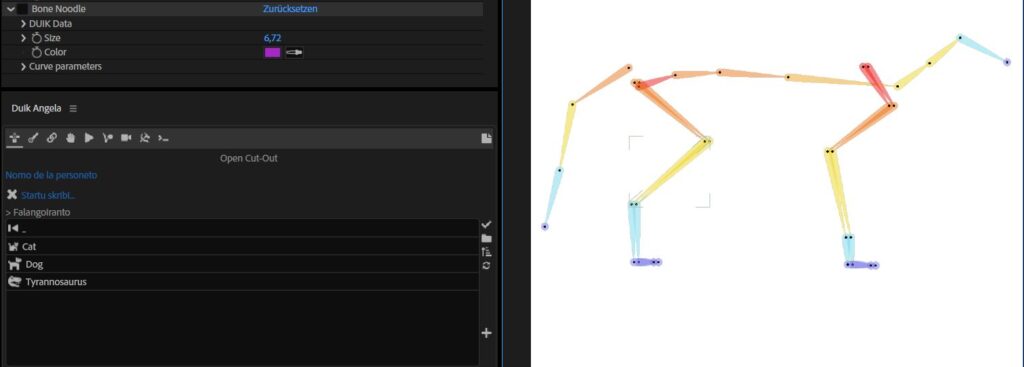
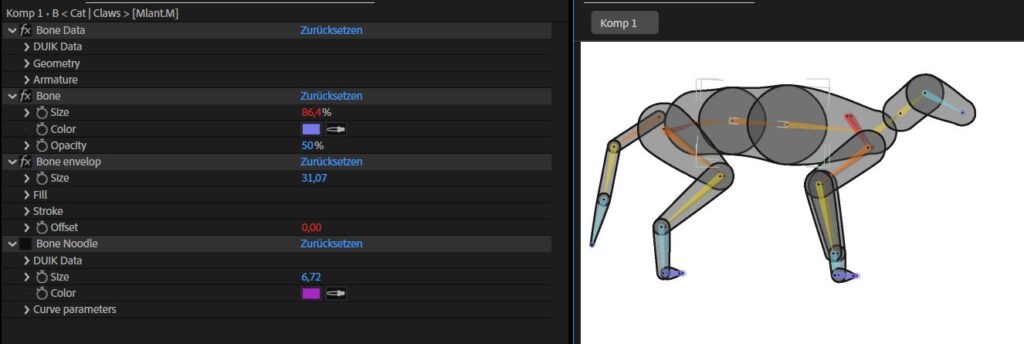
Eine Funktion aus Duik Angela, die auch in dem verlinkten Video gezeigt wird, ist das OCO Meta-rig (Open Cut Out Format Meta-Rigs). Jenes enthält Presets für sämtliche Charaktere, die du erstellen willst, auch für Tiere. So enthält es z.B. ein vorgefertigtes Skellett für Katzen, auf dessen Basis man dann den Charakter zeichnen kann. Dies ist also wie Rigging, nur Rückwärts. Viel Auswahl ist hier nicht vorhanden, trotzdem finde ich dieses Feature extrem hilfreich.

Aktiviert man den Effekt „Bone envelop“ werden die Knochen im Skellett umrandet – ein Ausgangspunkt um hiervon die Formen und Größenverhältnisse der einzelnen Gliedmaßen des Tieres in Illustrator abzupausen.

Ich machte mich dann daran dem Video weiter zu folgen und mir weitere Funktionen von Duik anzusehen. Spoiler: Duik hat seeehr viele Funktionen und die Lernkurve ist ziemlich flach, zumindest ist es bei mir so. Nach dem 1-stündigen Video hatte ich das Gefühl mal einen Überblick von Duik zu haben, mich richtig darin auskennen tue ich noch immer nicht. (Vorallem auch deswegen, weil ich mir aus Versehen Duik in einer Fremdsprache heruntergeladen habe, die ich nicht einmal erkenne… Ich habs auch ein bisschen mit falschen Spracheinstellungen…)

Die Struktur von Duik ist erst mal ein schüchternd. Das Panel besitzt gefühlt über tausend Knöpfe, aber das automatische platzieren von Bones fand ich dann wieder cool. Duik hat die Funktion, dass man ein digitales Skelett über seine Grafik platziert und passt dann die Gelenkpunkte an. Das hat einigermaßen gut beim ersten Mal funktioniert. Hier muss man aber recht genau arbeiten, denn platziert man schlampig, merkt man das in der Bewegung. Wenn das Knie nicht exakt dort sitzt, wo sich der Knochen biegen soll, sieht die Bewegung unnatürlich aus. I mean -kann auch gewollt sein, wenn man Zombies animieren will…

Ich werde jetzt nicht alles bis ins Detail erklären, wie ich den Charakter gerigged habe – das kann das oben angeführte Video viel besser. Vielmehr möchte ich bewerten, wie ich mit dem Tool umgegangen bin und welche positiven oder negativen Sachen mir aufgefallen sind.

Zum einen, wie oben erwähnt – der Rigging-Prozess funktioniert ganz gut. Man sitzt schon eine Weile daran, besonders wenn man komplexe Charaktere mit vielen Gelenken hat. Es ist jedoch praktisch, dass man beim Erstellen des Skeletts voreinstellen kann, wie viele Gelenke man verwendet – z.B. verfügte der Charakter, mit dem ich gearbeitet habe über keine extra Schulterknochen. Man könnte z.B. auch die Handgelenke auslassen und das Skelett wird sofort nach deinen Bedürfnissen angepasst.

Hat man dann alle Knochen über den Charakter gelegt, kann man diese ganz einfach auswählen und Auto-Riggen lassen. Danach hat man dann einen Charakter, den man bereits mit Controllern bewegen kann. Im Video wird dann noch beschrieben, wie man das Rig noch weiter bereinigen und an den eigenen Geschmack anpassen kann, doch das ist kein Muss mehr, denn das Auto-Rigging funktioniert wirklich gut.

Eine weitere echt ziemlich coole Sache: Duik hat voreingestellte Walking-Cycles. Ohne einen einzigen Keyframe setzen zu müssen, erkennt das Programm das Skellett und bringt es zum Gehen. Geschwindigkeit und Gangart können natürlich im Nachhinein angepasst und perfektioniert werden, aber für den Stark ist diese Funktion wirklich sehr hilfreich, denn wie wir wissen: Walking-Cycles sind nicht einfach.

Mein vorläufiges Fazit zu Duik Angela:

Ohne Tutorial in das Programm reinzustarten war für mich nicht möglich, denn die Lernkurve ist flach, es gibt soo viele Funktionen. Gleichzeitig wird das Rigging wirklich einfach gemacht. Mit all den Presets kann man wirklich schnell einen Charakter erstellen und riggen. Das Fine-Tuning braucht dann etwas Zeit, nichts jedoch im Vergleich zu Frame by Frame Animation.

My rigging journey part 10 – So now what?

My rigging journey is now finished. Just kidding. I am still learning. I went in total through 35% of the course I bought. I made 3 out of 5 rigs. The most complicated ones I have not even managed to touch yet. But I intend to get to them at some point.

The tutorials were great all in all. You could follow them mostly without much trouble. I never had to use a different file other then the starting file and my rigs still all worked out great. The documentation is a nice little conclusion at the end of each video. Pierre is a good teacher in this course. I tried to watch one of his more advanced courses on YouTube once, but you clearly see that they aren’t structured for beginners. Here he is building up speed in the process as you get through the course and are more used to the whole process. At first it was very handholding. For me coming with prior experience in 3D software it was sometimes too slow or things I already knew. Still, I appreciated the reminder as well as the repetition in itself. Having to repeat a lot of the steps again and again might be boring to write about but it helps me a lot to get it to stick. After all, I want to be able to use rigging as a tool. Something that I know how to do and can use it like cooking. I understand how to cook but I might have to look up a recipe if I want something specific. Lay said to me when I told her I want to learn how to rig that I already do. To some degree yes. I do. I know a lot more than before. Still, I want to finish the course and get to the nice difficult bits like a full facial rig.

At the beginning I thought I would get a lot more done, but hey I think I learned and adapted more habits for rigging than I had expected. As I see it, that’s the most important thing.

My rigging journey part 9 – UI and Rig overview

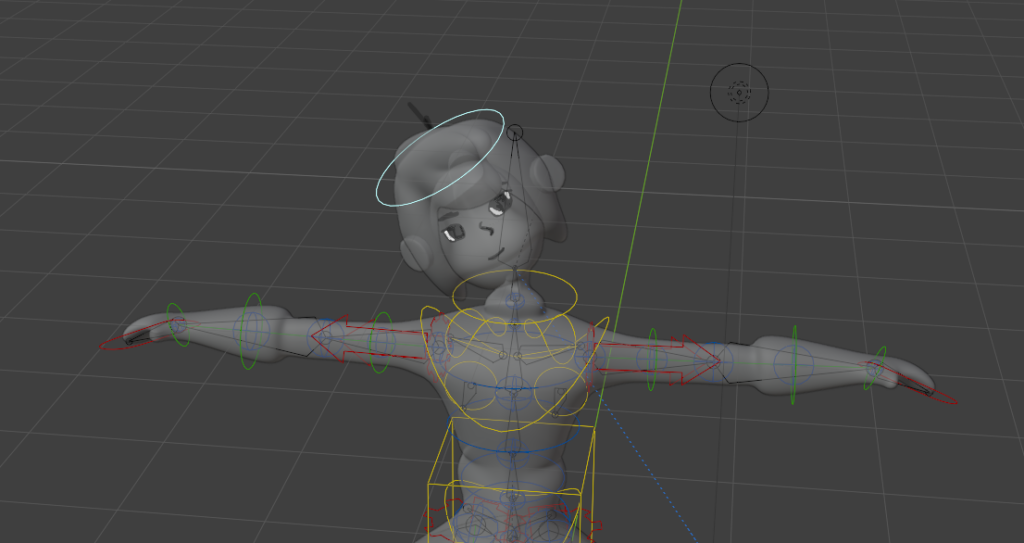
The UI for the rig was as in a previous tutorial. We just reused the file and adjusted accordingly. So far we have all of our custom properties stored in a cog above the head. But it would be nice for the animator to not always having to click on it while animating. The tutorial provided another python script for that. We only had to change some names and copy it into our rig UI. With that you can always do the IK/FK switch.

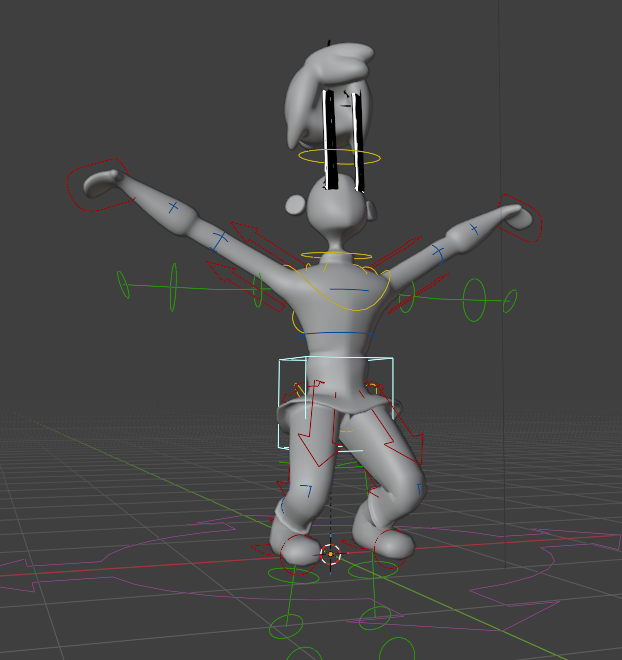
Just like that the rig is finished. It sounds like it did not take me that long. Still, the whole process from the first lesson in the 5th course to the final rig I probably spent 15 hours working through the course, changing the character in the middle, starting new and finding my mistakes. The process takes time and it is nice seeing things begin to move, but it is boring to write about it. So here is the finished rig. Yes, I talk a bit about it. (You can watch it muted, I don’t say too many interesting things)

My rigging journey part 8 – Foot rolls and dino arms

After torso and head rig we continue with the leg rig. The leg rig is a simple IK rig as I have done before for the spiderball. Takes some time but is again a repeat. The foot roll, however, is something new and pretty satisfying. Again, most of it works with mechanical bones with have constraints on them. The goal for the foot roll is to have the toes on the ground while the foot is rotated in one direction but following the foot when rotated in the other direction.

We can counter the rotation between 2 bones with the same roll adding a copy rotation constraint with inverted axis. Since I am not good at explaining and reading about bones and their relations is a lot more complicated then just showing, here is a picture of the build up of the foot roll. I am always thankful for the extensive documentation of the course.

As for the arm rig, this is where things get more time consuming. They got the princess treatment of getting an IK/FK switch. I have done it before, and it is always a bunch of work. At first we copied the arm bones 3 times, giving us 4 sets of arm bones. 1 will be responsible for the stretches, one is the Ik, one the FK and the last one are the original bones with are controlling the deformation bones. Similar as with the head we switch the influence between the bones with custom properties and a driver.

One step I skipped because Lay only wanted a simple rig – I was already overdoing it, I know – was making the arm IK switchable between parents. With this you can for example place the hand on the hip and it will follow the hip. It is definitely something I will come back to at a later point since it seems very useful.

The last thing needed for the rig were the fingers. They are a simple fk rig but with the adjustment that when you bend the second joint the third bend with it as finger usually do.

Special things with Lays character

Most of the tutorial worked fine when being used with a different character. Some things I did not need. For example, the tutorial character had shoulder plates. Yeah, I could skip that step. But I had to rig some accessories and a jaw instead. The jaw was easy. Just an extra bone with the head as parent. The hat works the same way, but the veil is something special. I wanted to try out a short tutorial I had seen so that you would not need to animate it per hand. It works with a bunch of bendy bones and they all have a damped track on them. It gives the veil a flowy feeling. I did the same with the coin chain on her skirt.

While the character worked well enough, I hate it, that it was not symmetrical. It was a pain in the butt when assigning and weight painting the vertex groups.

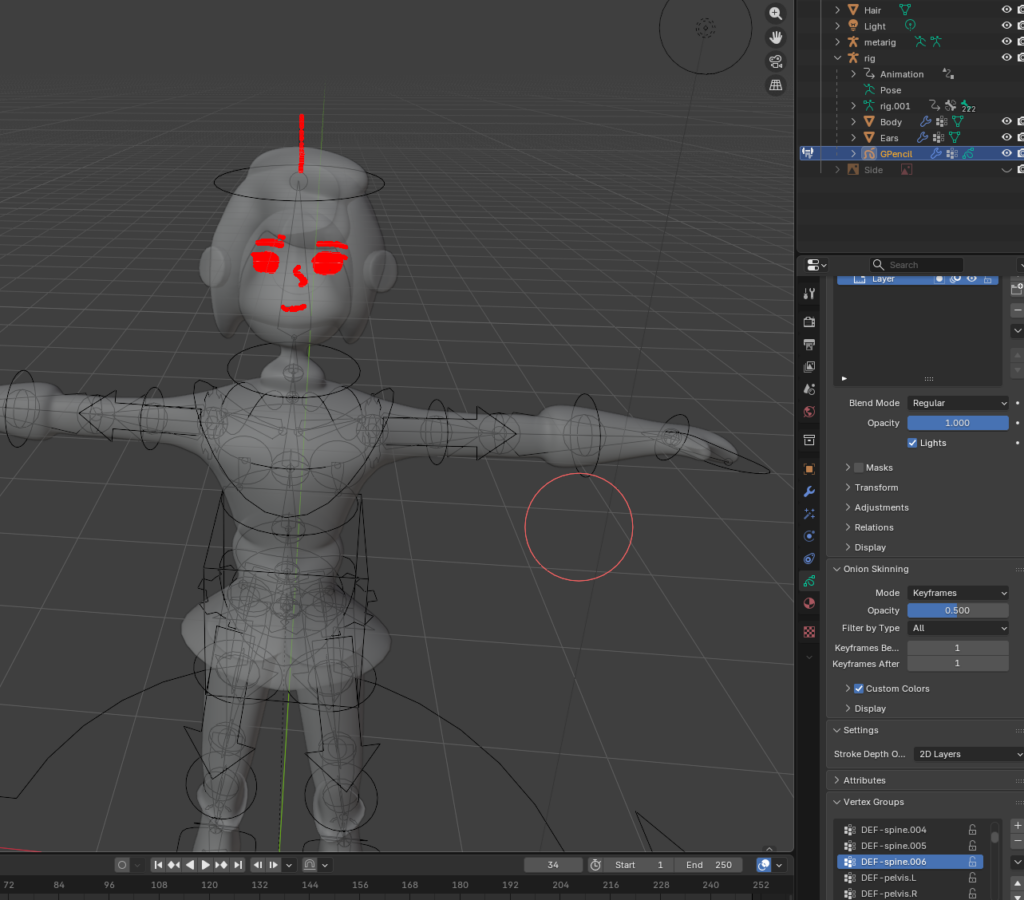
The character was not on the origin point of the file. I adjusted it for the rigging process, but it might have destroyed or changed the grease pencil. I don’t recall seeing it but it appears that it disappeared somewhere between me and Lay. I don’t know, but Lay seems to be fixing it as we speak. Also just generally navigating in the file of someone else is a bit of a challenge. I did not know what was important and what not and I was so spoiled from my tutorial files.

On a positive note, I liked the tutorial files, sure, but I was so much more motivated by working for someone else other than just me. It sped up the working process and I got through it a lot faster.

My rigging journey part 7 – One step forward another back?

The tutorial continued with a humanoid character. This time a robot – surprise – but it has some more organic parts. As always, the rigging process starts by creating the deformation bones. At this point I am pretty quick and experienced at this step. I have gotten used to the repeated use of the 3D cursor and I am a bit of a fan. I can tell that I am getting more used to all the needed shortcuts and that my processes are speeding up.

The next step was the skinning process. The tutorial went through the different options on how to approach. I have often used automatic weights before and adjusting how I needed it. This had in the past, however, led to me not knowing exactly what I was doing. Often everything got so much worse before I could fix anything. Therefore, I am a fan of using empty groups when parenting the armature to the character. Then assigning general areas to the vertex groups in the edit mode before moving over to details in the weight painting. As for the weight painting, working with small steps while adjusting gets a good result quickly. Don’t forget to put on Auto-normalize, otherwise a double transform could happen.

I was just getting into the little details of adjusting the weight of the neck, when Lay sent me her character she made for DesRes, asking if I could make some rig adjustments. She had used rigify. While it can be alright, I find it hard to work changes into it. So I decided I am just going to do my tutorials with her character instead of the provided one. Which meant for me scrap that, we are going back to step one. Let’s do all the Deformation bones again as well as the weight painting.

Now with this little side adventure I was back on track. Starting of with creating the Control rig, which essentially only means duplicating the deformation bones, putting them in their own bone collection and renaming them from DEF to ORG. And why is the naming convention important this time especially? Because we are running a Python script, baby! Yes, for the next step – putting a copy transform on all the DEF bones – a Python script was provided. Letting it run got rid of the process of having to do it manually for all the bones.

Now the more complicated part of rigging could begin again. Make everything work the way it is supposed to. Starting of with the torso, a center of gravity bone was created. Then we needed a way to adjust the different spine bones as well as move them together with one main controller. This worked as usual with a bunch of constraints and a lot of mechanical bones. Also important a connected child bone can’t be changed, cause it sticks to its parent. So we had to change some parenting from connected to disconnected. (Both in the ORG as well as the DEF skeleton)

The head and neck were similar built as the torso. The biggest new thing was that we created 2 custom properties which let you change whether the head and neck are following the body or not. This again works with extra mechanical bones and a driver system controlling the influence of the bones.

I don’t have as much to write about, since it was a lot of repeating processes. It really helps me get into rigging and I am happy for a lot of repeats which make me feel like the learning is sticking. Not always and everything, but a lot is now very clear to me.

#6 Chrissis Weg zur Character Animation – Kurzer Exkurs: Wie erstellt man einen Nicht-binären Charakter?

Während dem Zeichnen meines Charakters (siehe letzter Blogpost #5) fiel mir auf, dass ich stehts versuchte keine allzu geschlechterspezifischen Merkmale zu verwenden. Dies mag damit zu tun haben, dass ich überlege diesen Charakter für spätere Erklärvideos – vielleicht für die Masterarbeit – einzusetzen bzw. zu recyceln. Wie in Blogpost #2 erwähnt möchte ich mich in meiner Masterarbeit dem Thema „gendersensitive Wissenschaftskommunikation“ annehmen. Nicht nur mir dürfte aufgefallen sein, dass der männliche Körper noch immer als Norm angesehen wird. Das zieht sich durch alle Branchen und Bereiche des Lebens: In der Herstellung von Autos (Crash-Dummies mit männlichem Norm-Maß), in der Medizin (Angaben auf Packungsbeilagen sind meist auf den männlichen Körper genormt), in der Gesellschaft (selbsterklärend, sonst gäbe es keinen Feminismus), und letztendlich auch in der Didaktik. Letztes Semester habe ich ja Erklärvideos angeschaut und festgestellt, dass auch darin der männliche Körper als Norm dargestellt wird.

Ich denke, ich muss jetzt keine Studien hervorholen, um die Aussage treffen zu dürfen: Repräsentation ist wichtig, sogar lebenswichtig. Und eine unterrepräsentierte Menschengruppe – ja sogar noch weniger dargestellt als nicht sexualisierte Frauen – sind Personen, die sich nicht dem heteronormativen binären Geschlechtermodell unterwerfen.

Ich habe einmal gegoogelt und mich auf die Suche nach bekannten nicht-binären Charakteren gemacht. Und um ehrlich zu sein: Das Ergebnis war ernüchternd.

Hier zu den Listen:

https://en.wikipedia.org/wiki/List_of_fictional_non-binary_characters
https://lgbtqia-characters.fandom.com/wiki/Category:Non-binary_Characters

Klar, beim ersten Hingucken in diese Auflistungen wirkt die Anzahl an Charakteren hoch, jedoch verglichen mit binären und auch heteronormativen Charakteren in allen gesammelten Medien, ist die Liste viel zu kurz. Was besonders auffällt: Die meisten der Charaktere sind Nebencharaktere und nehmen wahrscheinlich oft die Funktion des „Quoten-Queers“ ein. Sehr viele der aufgelisteten Charaktere sind auch Kreaturen bei denen eine binäre Einteilung von Natur aus keinen Sinn ergibt. Zu den bekannteren nicht-binären Charakteren aus Realverfilmungen (die ich auch kenne und bewerten kann) zählten z.B. Loki (jener wird aber z.B. in den Marvel Filmen und der Serie von einem weißen heteronormativem Schauspieler verkörpert und benutzt he/him Pronomen), dann gibt es den Doktor aus Doctor Who (wechselt zwar immer die Erscheinung und in den letzten Staffeln auch das Geschlecht, wird jedoch immer je nach Schauspieler/in klar binär dargestellt), und Lucifer aus The Sandman von Neil Gaiman (wobei ich mir unsicher bin, ob dieser Charakter besonders bekannt ist, es ist auch bloß ein Nebencharakter). Letzterer ist für mich einer der einzig guten nicht-binären Charaktere in Realverfilmungen, wo das Konzept „nicht-binär“ vollends durchgezogen wurde – von der Kleidung, über Make-Up bis hin zur Stimme.

Nun stellte ich mir die Frage: Auf was muss ich eigentlich achten, wenn ich einen nicht-binären Charakter zeichnen will? Und wie funktioniert das überhaupt? Der Mensch ist so darauf gedrillt das Geschlecht anderer Menschen anhand von vielen verschiedenen Merkmalen zu erkennen. Geschlecht ist auch eines der Merkmale, die beim Treffen auf eine fremde Person als erstes erkannt werden.

Doch nach welchen Regeln legen wir das Geschlecht einer Person fest? Wie können wir ein weibliches von einem männlichen Gesicht unterscheiden?

Grundsätzlich ist jedes Gesicht anders, jedoch gibt es spezielle Merkmale, die wir als typisch männlich oder typisch weiblich klassifizieren. Z.B. Haare: Männer tendieren dazu ihr Haar meist kürzer zu tragen, als Frauen. Auch die Gesichtsform ist ausschlaggebend. Männer haben in der Regel größere und kantigere Gesichter. Der Kiefer ist breiter, das Kinn markanter, die Wangenknochen eckiger. Frauen haben meist schmalere und rundere Gesichter, vollere Lippen und größere Augen. Auch markant sind die Augenbrauen: Diese sind bei Männern oft dicker und kantiger. [1]

Der Clou, um beim Zeichnen zu einem Androgynen Gesicht zu gelangen: Man kombiniere all diese Merkmale. Oder wie es eine Person im Reddit-ähnlichen Chat-Forum „Quora“ beschreibt: „It’s all about mixing up things that are characteristically of males and females.

Try to draw a face with a big nose (which is usually male) and almond eyes (which are usually female). Draw one with rounded corners (female) and flat cheekbones (male). Combine things. Its fun.

This applies to clothing too. Draw them in a suit with nail polish, high heels and cargo pants, etc.“ [2]

Ich möchte meinen Charakter nun doch nicht enthalten: Hier habe ich versucht typisch männliche und weibliche Attribute zu kombinieren – ihr könnt selbst entscheiden, ob mir dies gelungen ist oder nicht…

Quellen:

1: Peters, Nastasia (30.08.2013): Die Unterschiede zwischen männlichen und weiblichen Porträts. In: Envato Tuts+, https://design.tutsplus.com/de/articles/the-differences-between-male-and-female-portraits–vector-14954 (zuletzt abgerufen am 08.07.2026)

2: Nat (2019) über „Quora“, https://www.quora.com/How-do-I-draw-a-character-to-look-non-binary (zuletzt abgerufen am 08.07.2026)